
In this article, we will show you step-by-step how to upload the files you will use to train your model. You can upload your images or use images from Unsplash, a proprietary stock photography website that OSAI has partnered with.
If you want to upload your images, prepare the files you will use beforehand. OSAI accepts both .jpg and .png formats. You can select images one at a time from the system location, or you can add folders and .zip directories in bulk. If you want to use Unsplash images, follow the steps in the Unsplash article.
To show you how to upload your images, we will use Toys - one of our free-to-use public datasets. This is the perfect dummy dataset for you to learn how to work with our application. Download it here.
Ready to learn? Let's get started!
#Create the data directory
Before adding files, you need to create a directory where you will store and manage the images. To do this, click on the Datasets tab in the menu and select Owned.
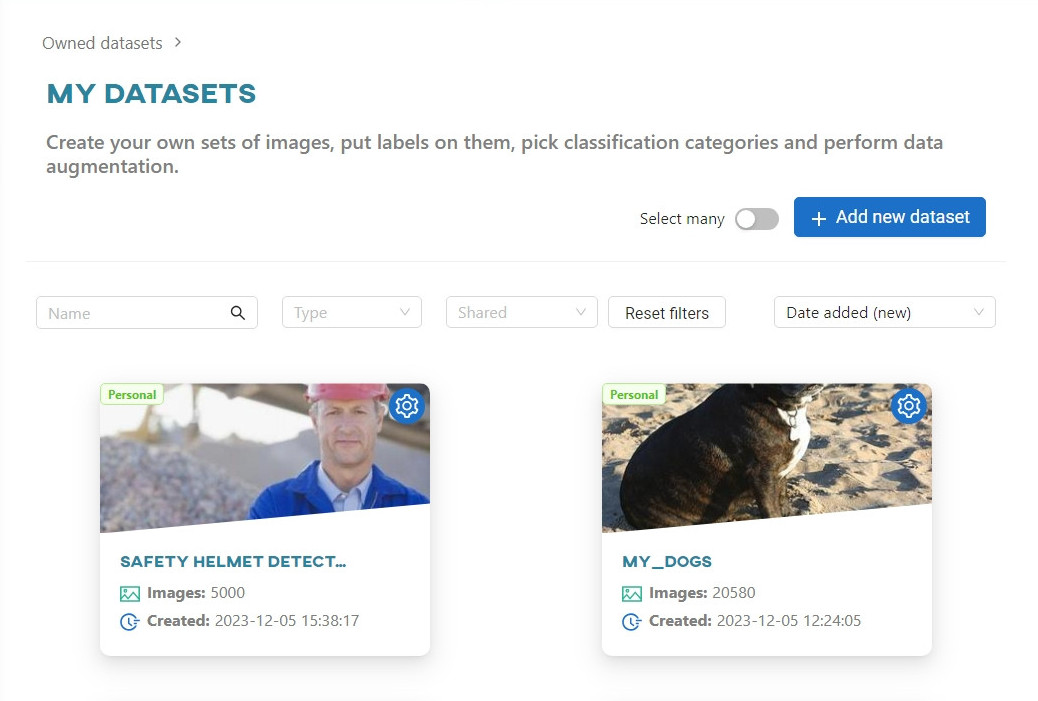
To upload files, click Add new dataset.
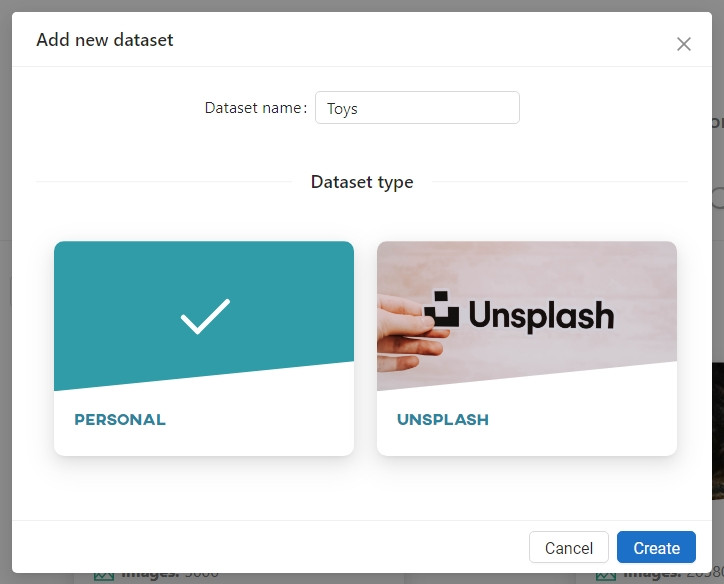
Select the Personal dataset type, enter a name, and then click Create.
Keep in mind: The dataset name must be unique, with a minimum of 3 and a maximum of 50 characters. When creating a dataset name, use only letters from the Latin alphabet, numbers and hyphens.
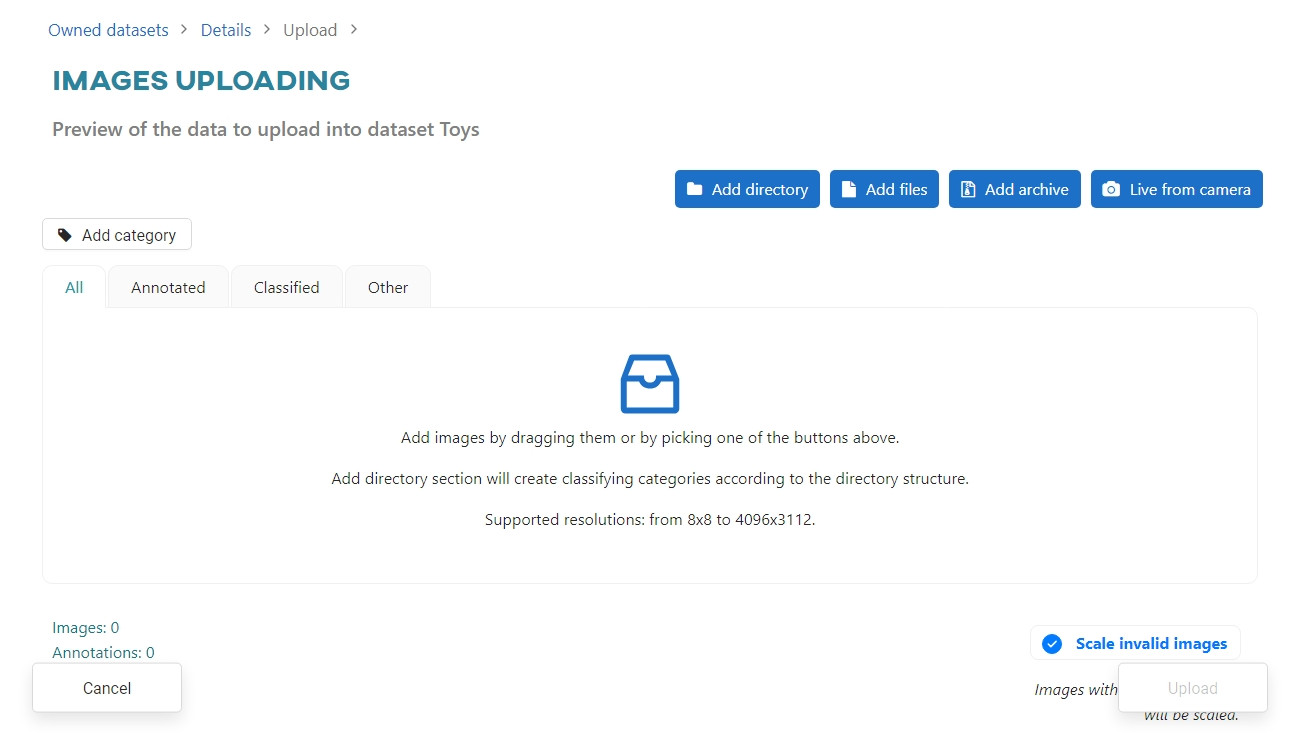
Once the dataset is added, you can manage it from the management view. At the bottom of the screen, there are 4 options for uploading. In this example, to add new files first use the Add directory option. This will upload an entire directory containing the files you need.
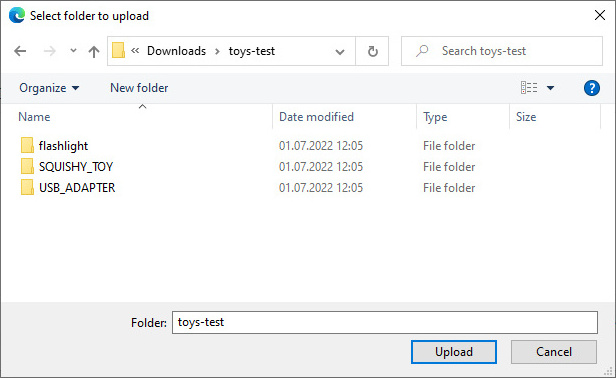
When you click Add Directory, a system window will open. Find the folder you want to use and select it. Then click Upload.

Some browsers (usually Microsoft Edge) may ask for additional permission to upload multiple files. Agree by clicking the Upload button.
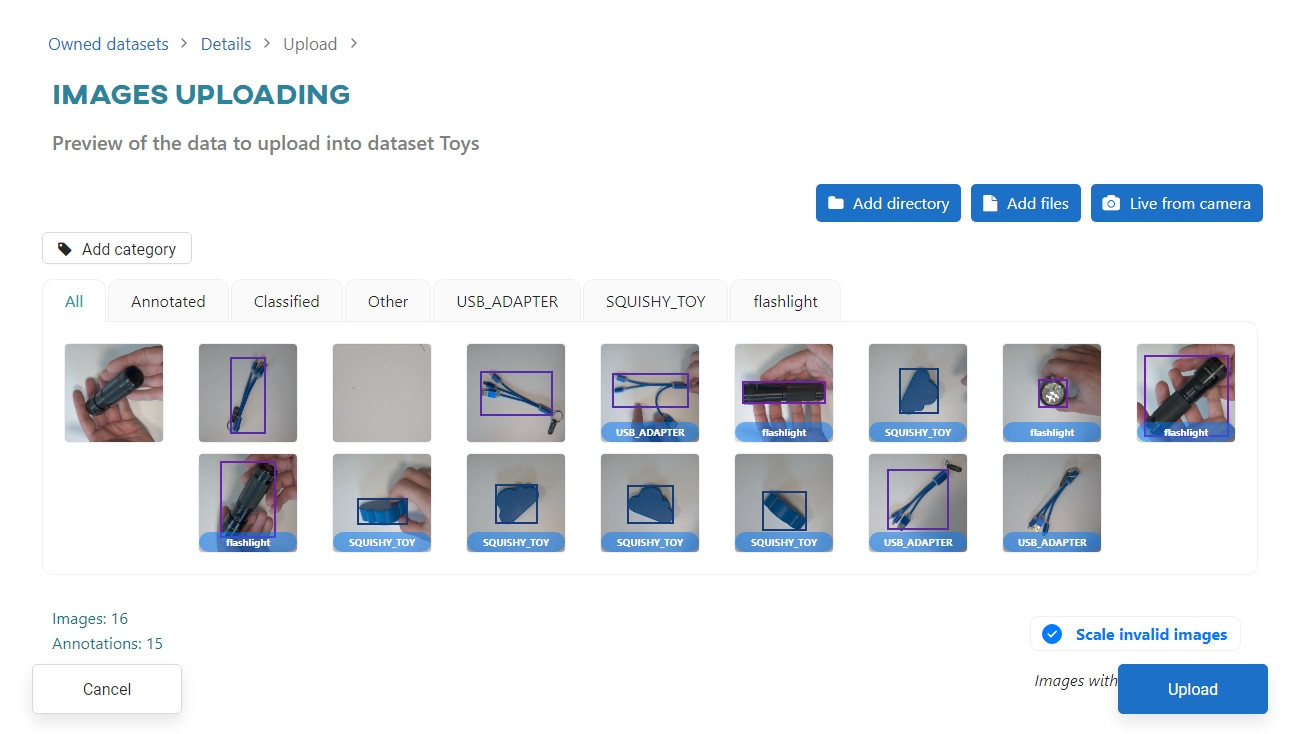
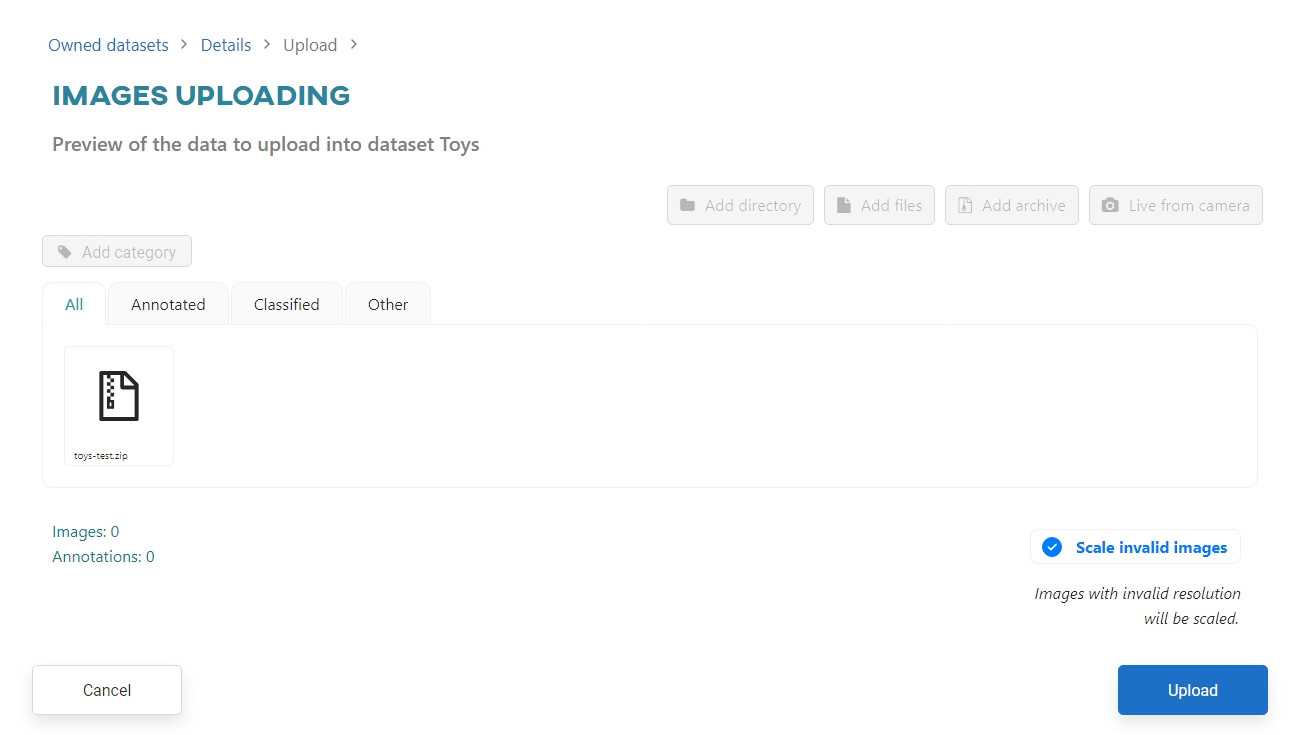
Once the request has been processed, you will see a preview of the images being added to the database. If everything checks out, click Upload again in the lower right corner.
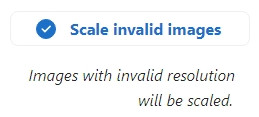
OneStepAI has some limitations on the size of uploaded images, so you need to decide what should happen to images outside the resolution range. In the case of this tutorial, it does not matter, choose Scale or Skip.

Now, the actual upload will start. You can go and do something else in the app, but it is necessary to keep the tab open. When the upload is complete, you will see a notification at the top of the screen. Clicking on it will redirect you to the dataset management screen.
Keep in mind: Do not close the OSAI page while uploading. Doing so will interrupt and terminate the upload process.
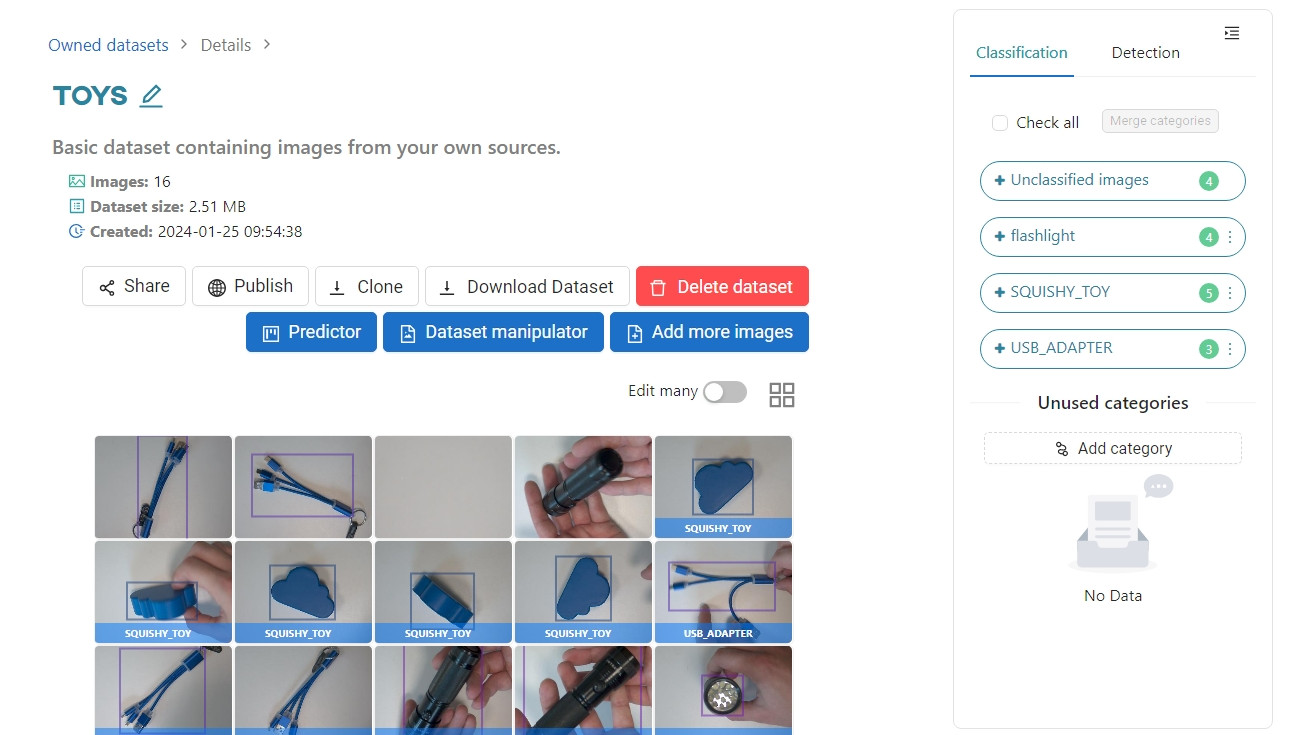
Here you can go through the dataset view and see if anything is missing. If more images are needed, you can always upload additional files using the Add more images button.

Add directory is not the only way to add multiple files at once. OneStepAI also accepts zip files, added using the Add archive button.
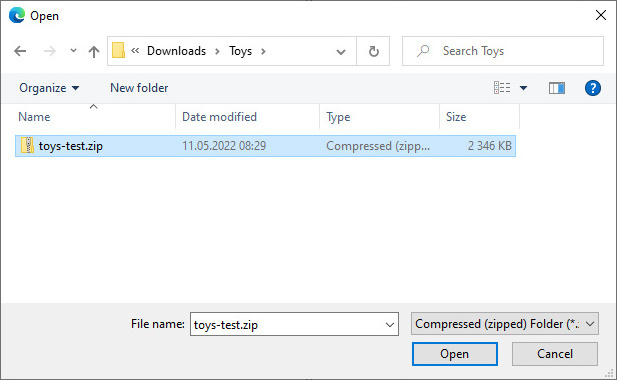
Clicking the button will open a system window. Select the .zip file and click Open.
The next steps are similar to adding a folder. When you see a preview of your files, do not forget to click Upload at the bottom of the screen. Otherwise, your files will not be added to our database.