
Construction sites are dangerous places where accidents can happen at any time. Therefore, it is important to keep workers safe by enforcing safety measures, such as helmet use. However, monitoring worker compliance can be a challenging task. This is where a detection model can come in handy.
In this tutorial, you will build a detection model that can detect whether or not workers on a construction site are wearing helmets.
To create the model, use the publicly available Safety Helmet Detection dataset, which contains 5000 images with bounding box annotations for 3 classes: helmet, person, and head.
#Adding the dataset
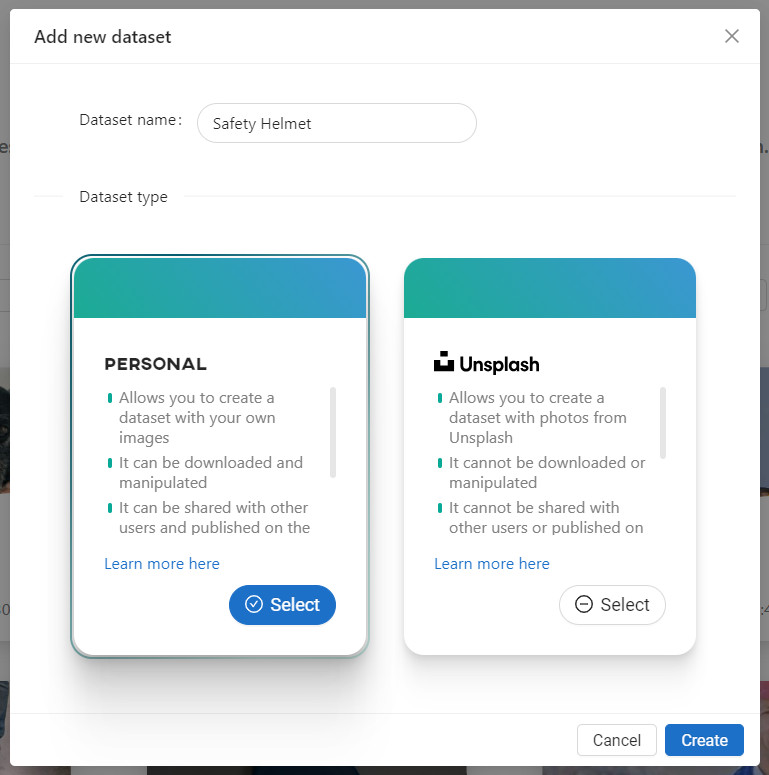
Go to the Owned datasets and click Add new dataset. Enter a dataset name, select Personal the dataset type, and click Create.
The Safety Helmet Detection dataset has been saved in a .zip archive consisting of two folders: annotations and images. You can upload it either as an archive or as a directory. For this tutorial, we will use the second option. Click Add directory.
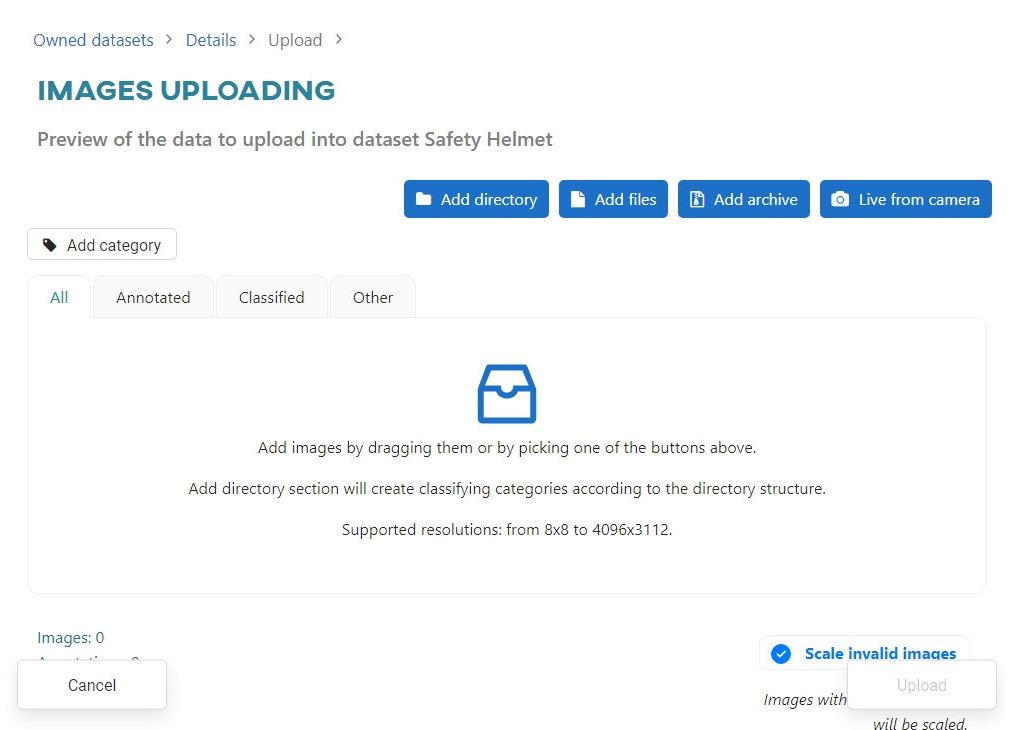
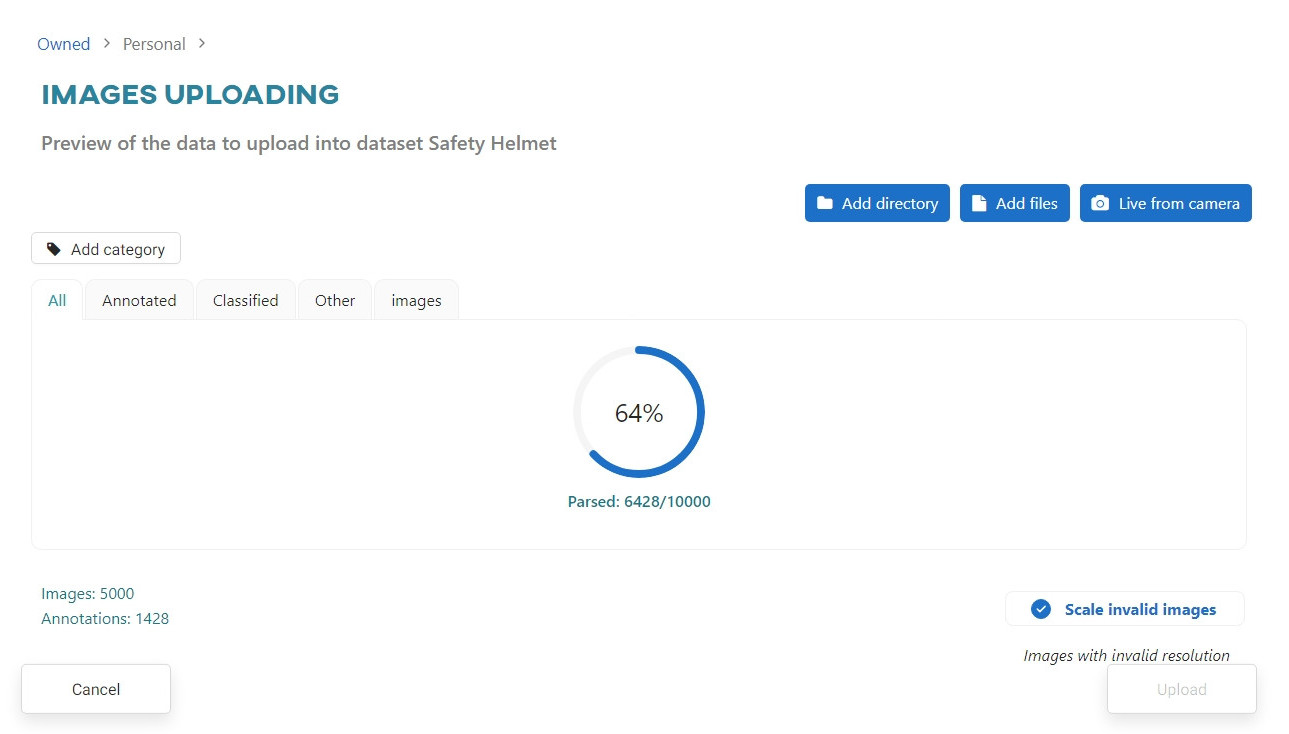
Wait for the site to validate the uploaded directory.
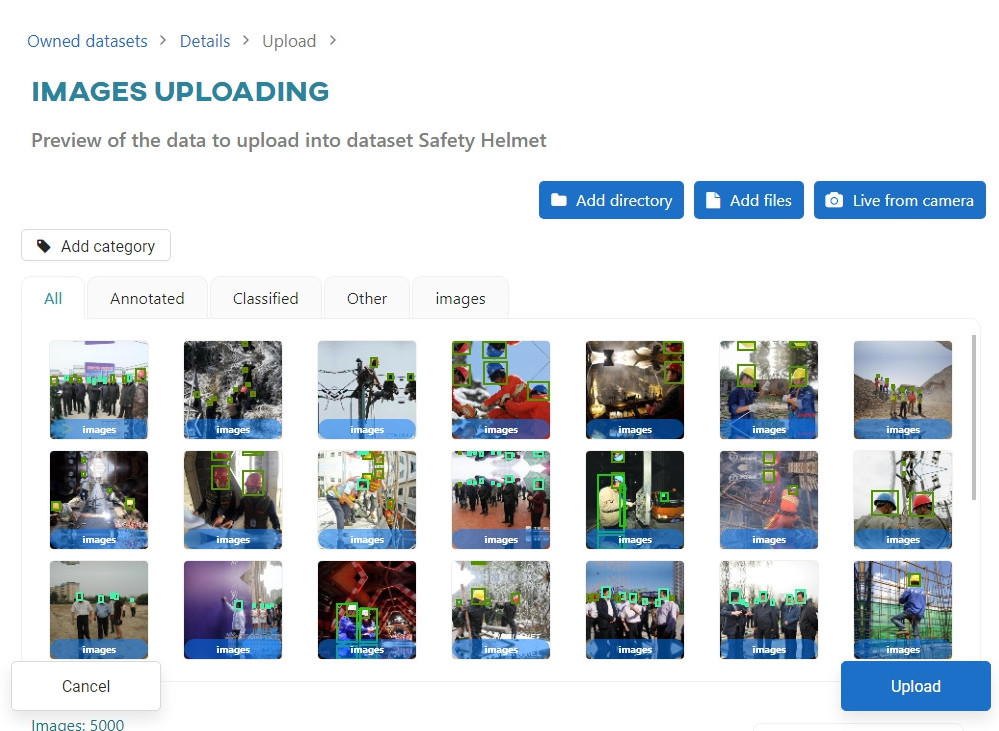
In the thumbnails, you will see the images with added annotations. Once the directory is loaded, click Upload.
Before uploading, you will be informed of our image size limits. Decide what the application should do if the size limit is exceeded. For this tutorial select Scale.
The uploading task is performed in the background. You can monitor the progress of the Dashboard or Datasets view.

#Creating the model
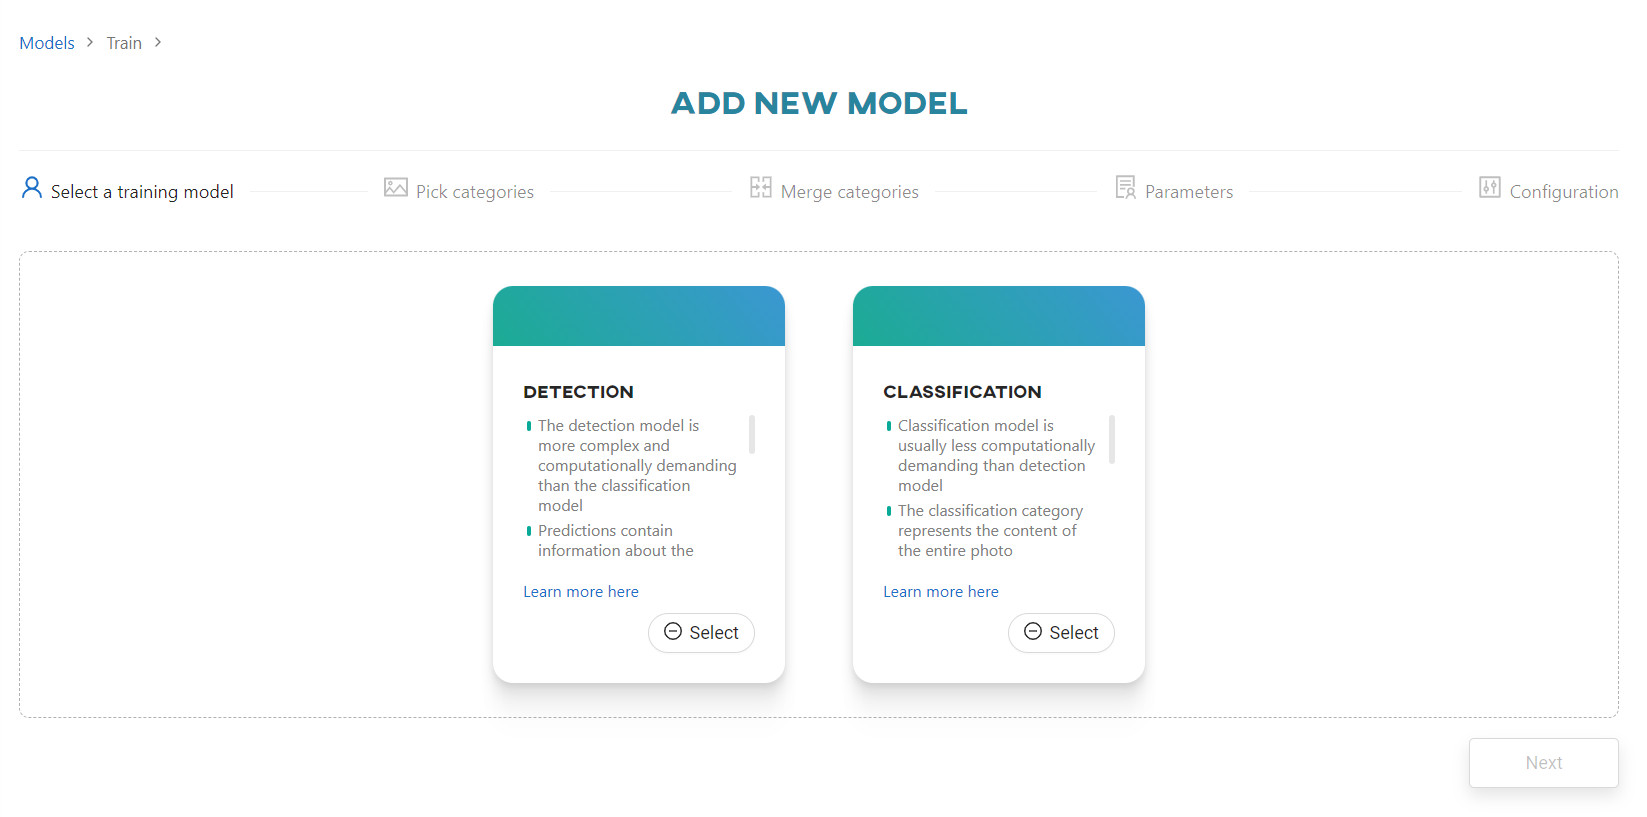
Go to the Models section and click Add new model. Select Detection.
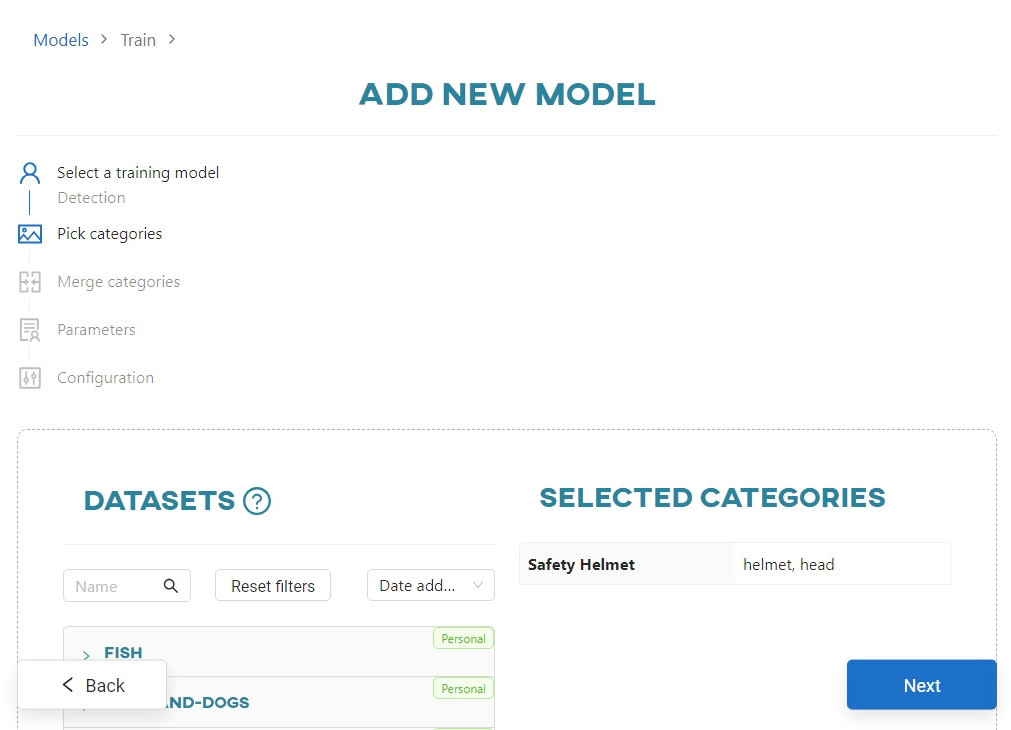
From the Safety Helmet dataset select helmet and head categories.
Skip the merge categories step and click Next. Enter the name of your model and select the Darknet framework.
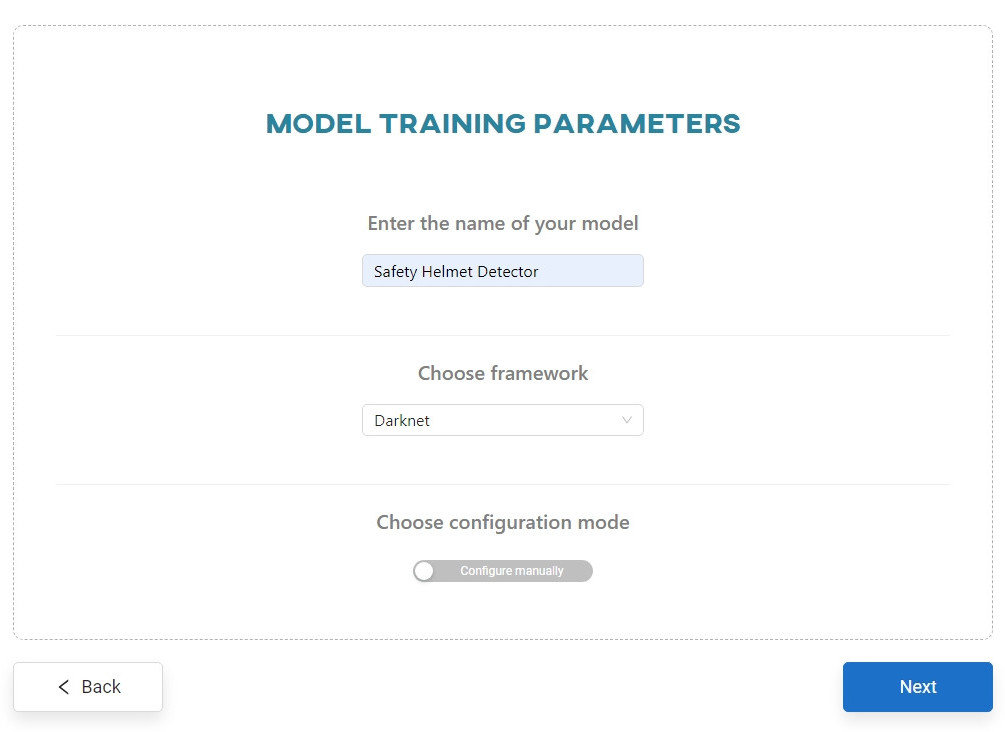
Choose the Configure manually option. Click Next.
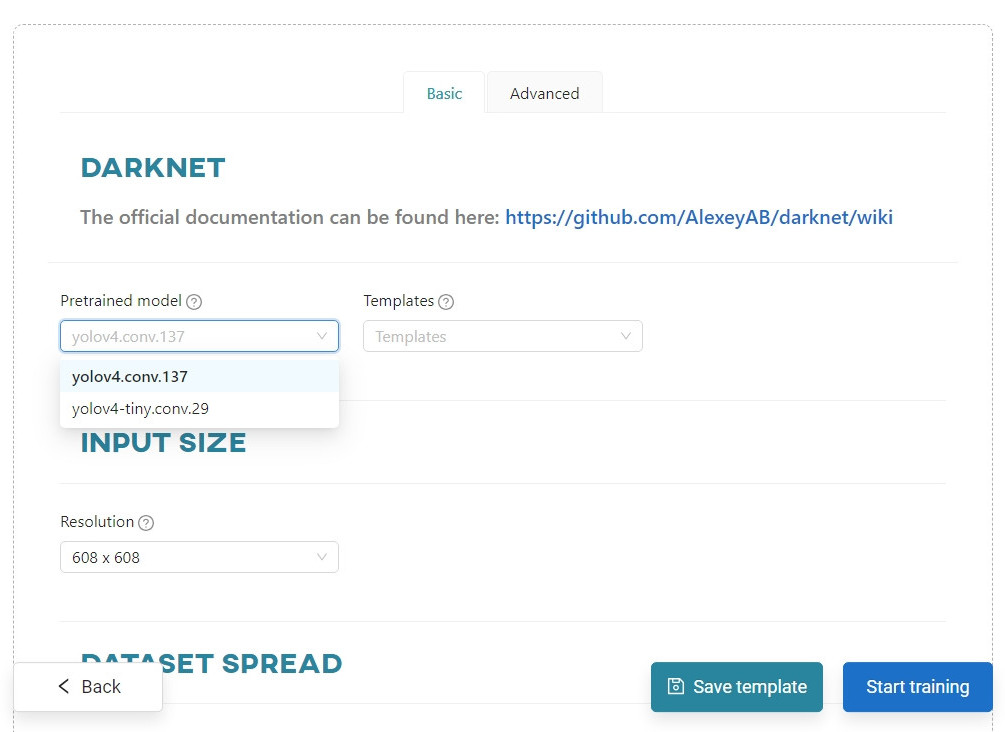
Change the pre-trained model to yolo4-tiny.conv.29 and click Start training. You can view the training progress in the Dashboard view, in the Notifications tab, or in the Models section.
#Testing your idea
Once the training is complete, go to the Models section.
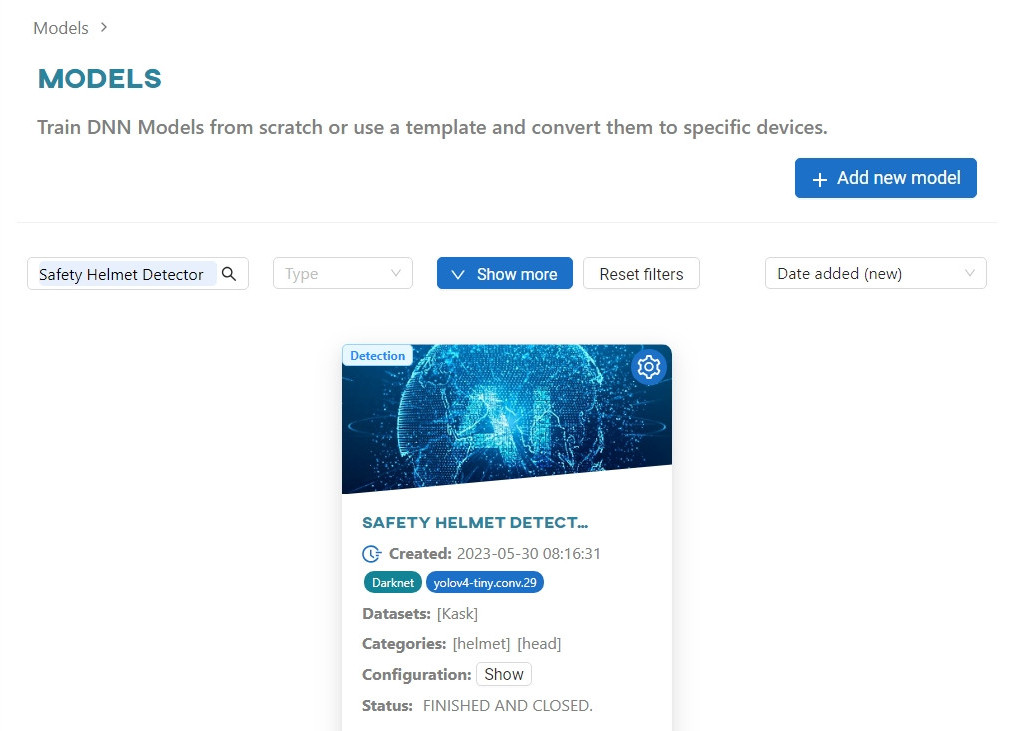
Click on the Safety Helmet Detector model to run it.
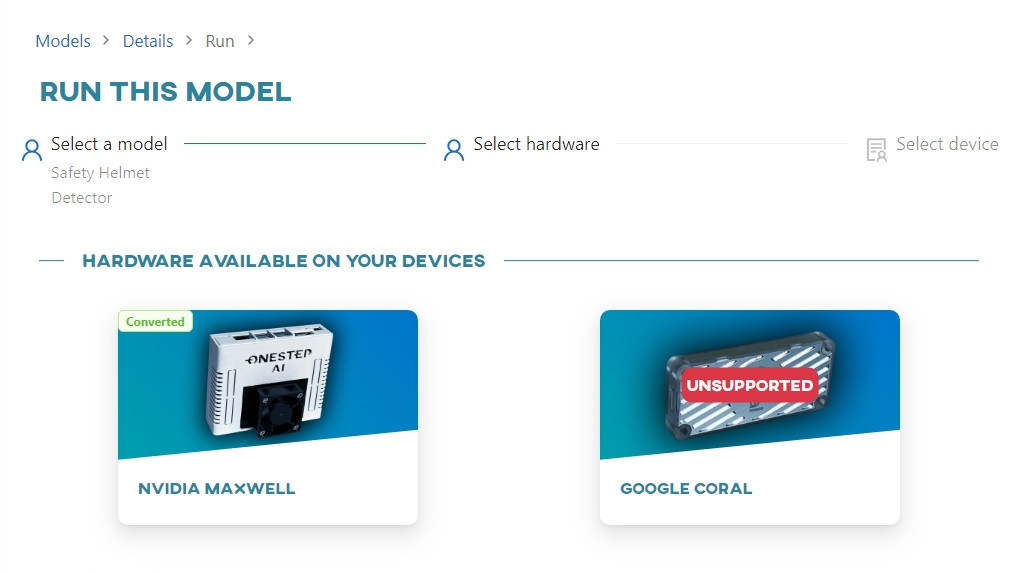
Select the NVIDIA MAXWELL architecture. Click the hardware tile to convert.
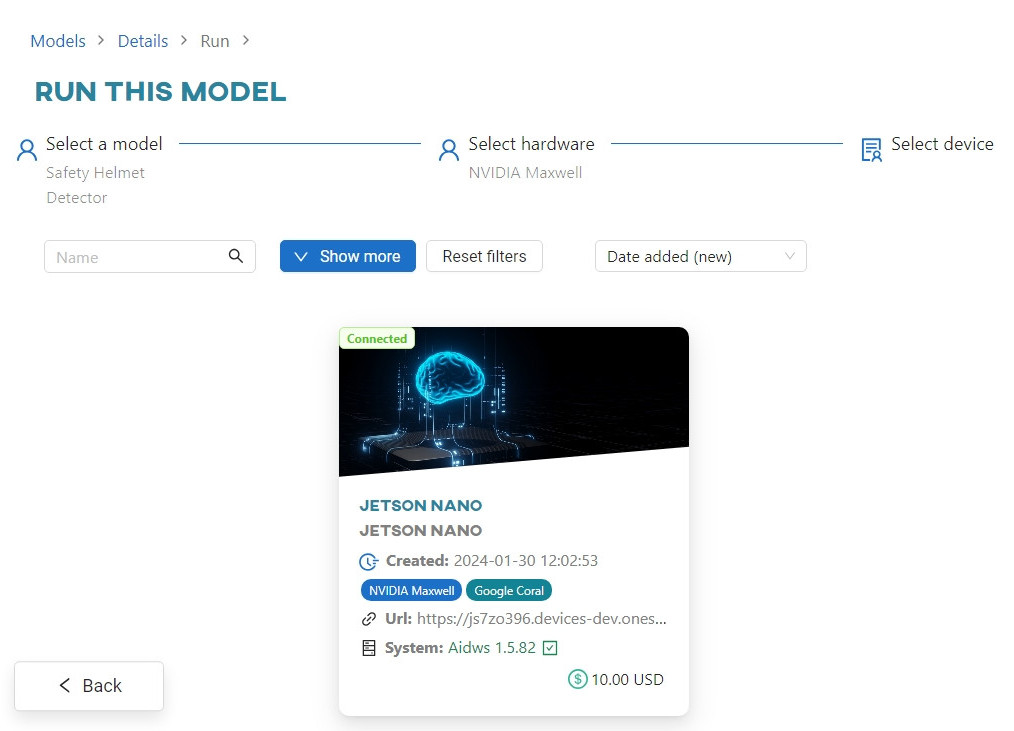
Once converted, click on the device to connect to it.
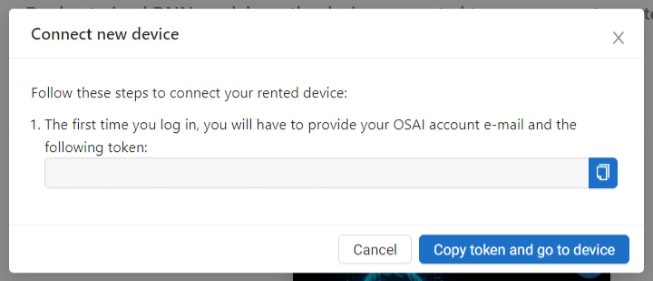
Copy the registration code to the clipboard, then click Copy token and go to device. This will open a new tab in your browser, where you will find a web app that is now using your local Nano device.
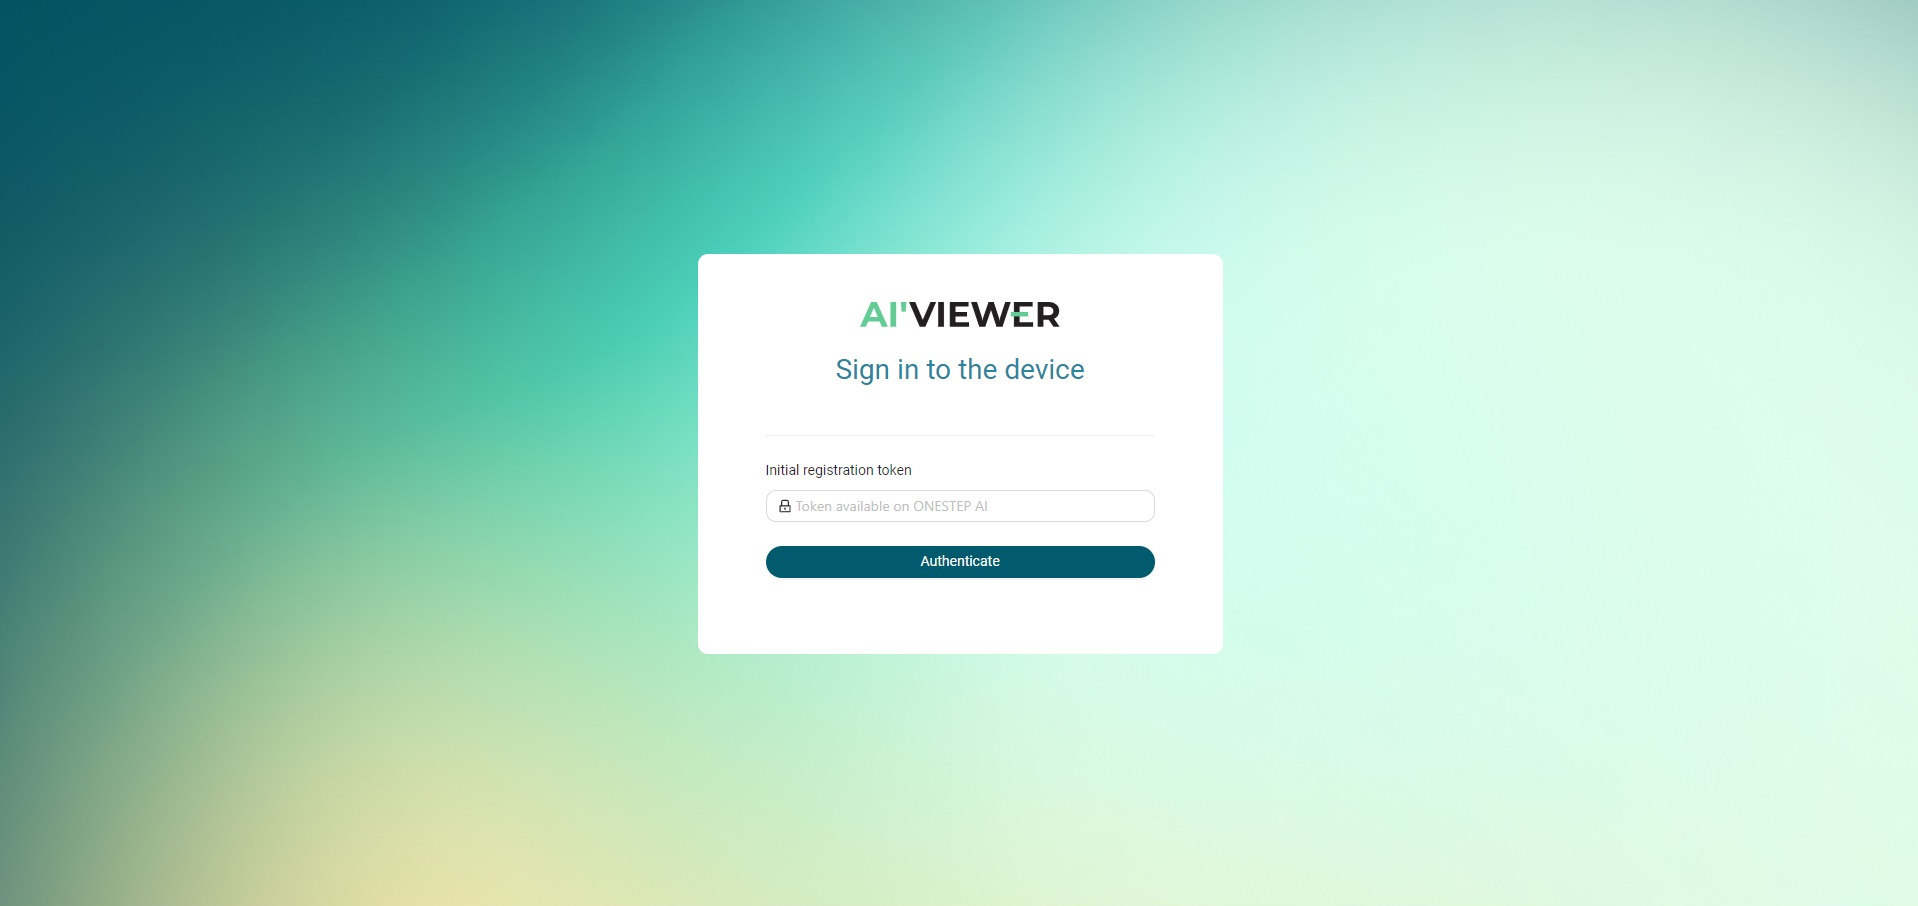
Enter your e-mail, paste your registration code into the Token field, and create a password. Once registered, the device will change its status to Connected in the Live Testing section of the OSAI app.
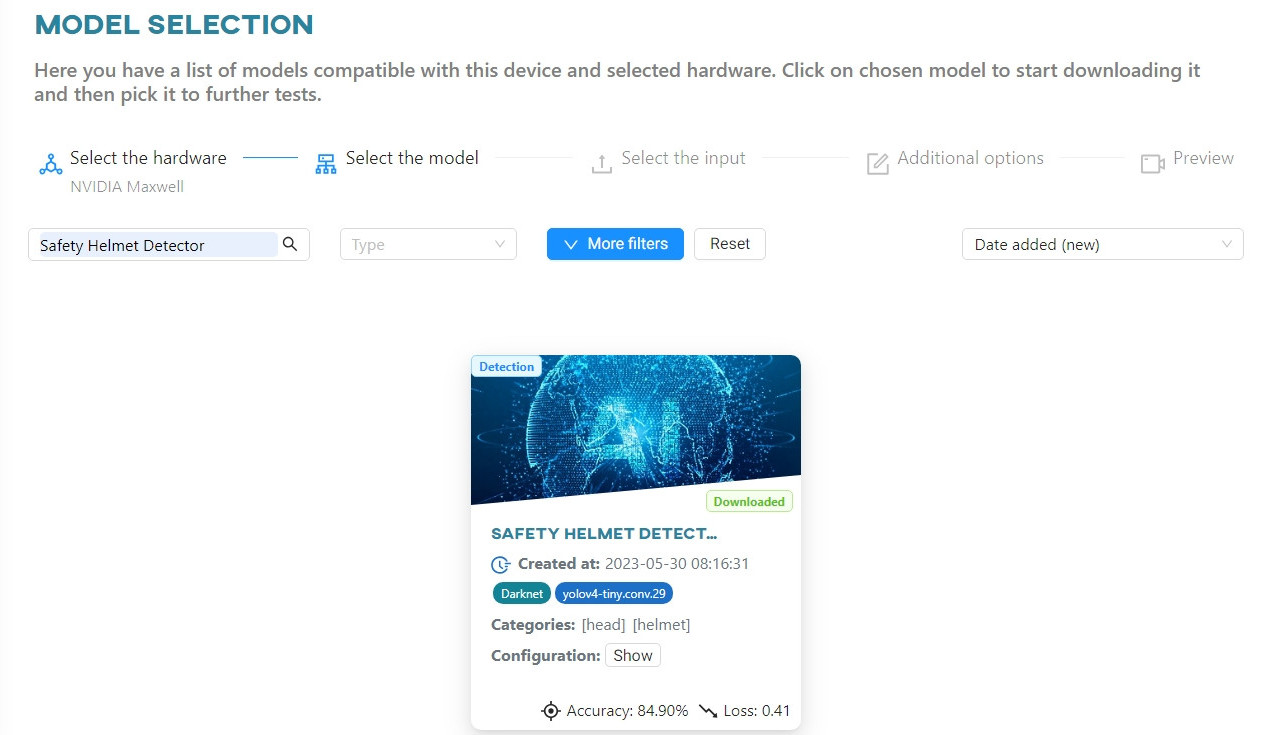
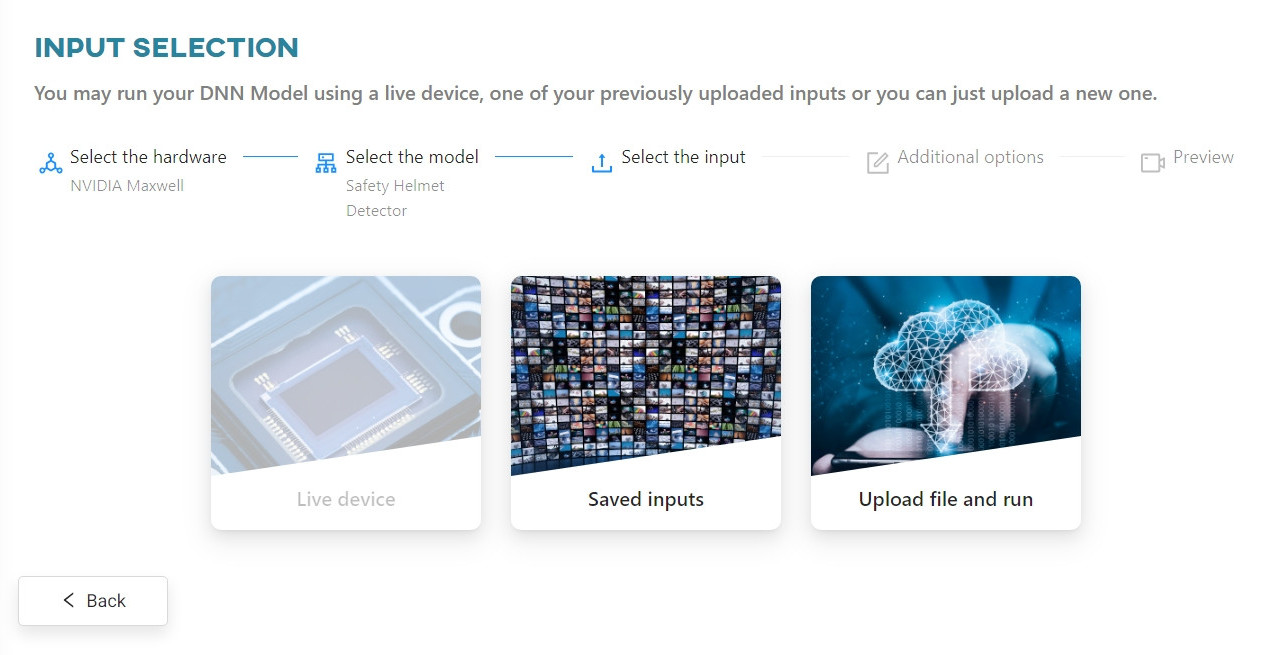
Click on the model tile to download it to the device's local memory. Click on the model again and select the input data required to test the model. Click the Upload File button. You can upload either a photo or a video. For the purpose of this tutorial, we will use two different video files.
Once your video file has been uploaded, you can change its settings and decide whether or not to create a new dataset with the uploaded videos. Click Next to continue.
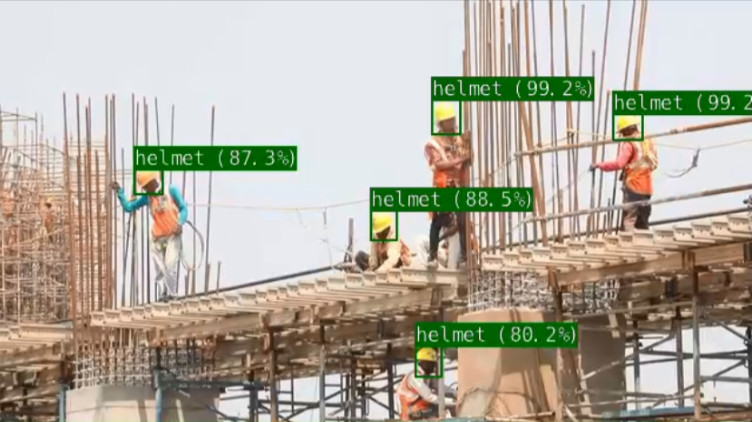
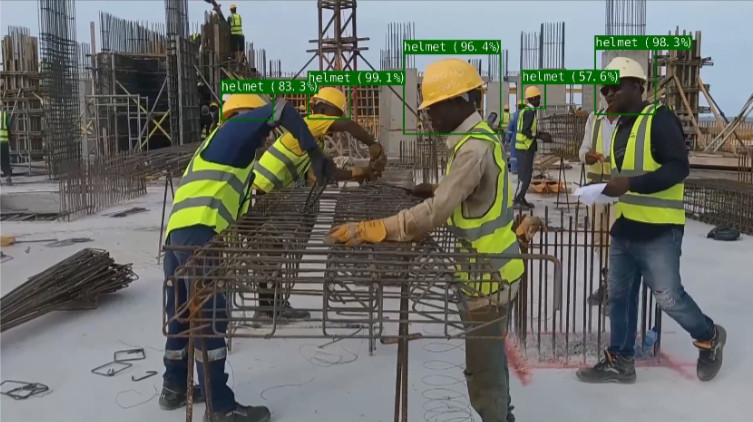
After the video is processed by the web app, you can view the results.
Keep in mind You can always improve the effectiveness of the trained model by subjecting it to a re-training process.