In this tutorial, you will build a detection model capable of recognizing dog breeds in video frames.
You will learn how to:
add images and annotations separately,
train your model using the Darknet,
test your detector in real time.
To create the model, use the publicly available Stanford Dogs Dataset, which contains 20,580 images of 120 dog breeds. The dataset consists of images and annotations collected in separate folders.
#Unziping the dataset
The Stanford Dogs Dataset has been saved in two separate archives i.e. Dogs_Images and Dogs_Annotation using the .tar file extension. Although our portal supports such extensions, they cannot be uploaded at the same time, which means that the photos in the dataset will not have annotations. You need to unzip them and upload them as a data directory. To do this, you can use programs such as 7-Zip or WinRAR.
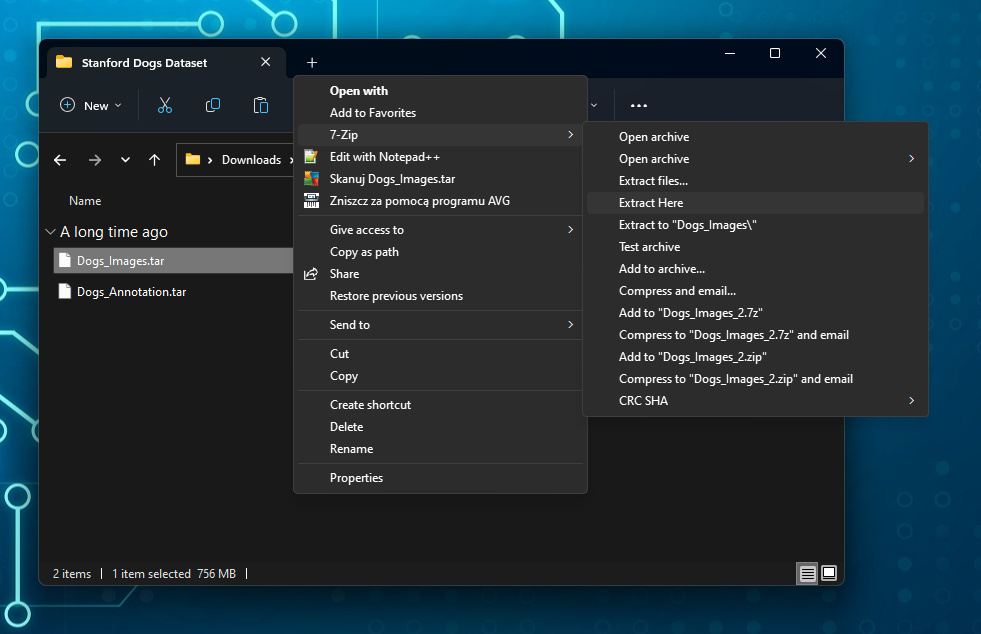
If you are using 7-Zip to unzip the file, expand the context menu by right-clicking on the file and select the Extract Here option located under the 7-Zip menu.
Keep in mind: This tutorial shows only one of the ways to deal with this problem. Depending on your system and the program you are using, the options may be different.
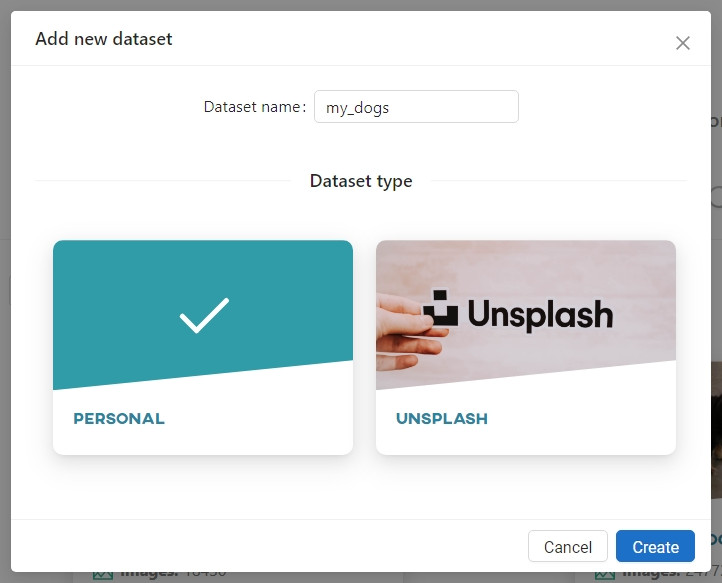
#Adding the dataset
In the Owned datasets section, click Add new dataset and create a new collection named my_dogs.
Click Add directory to load the directory containing the images and annotations.
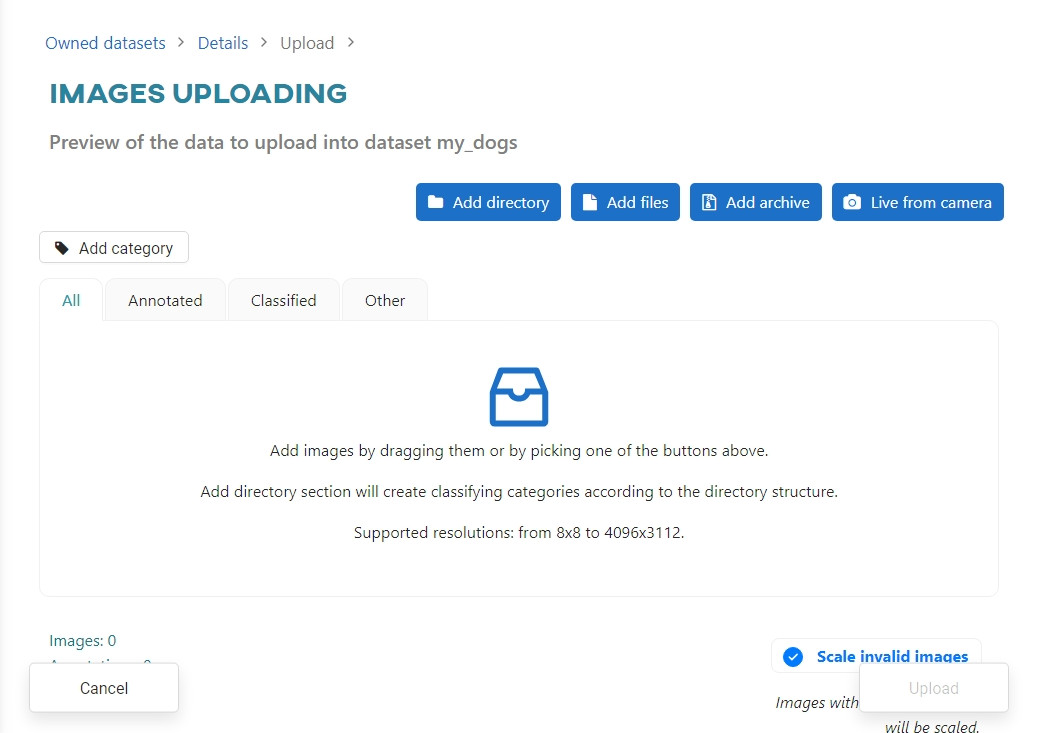
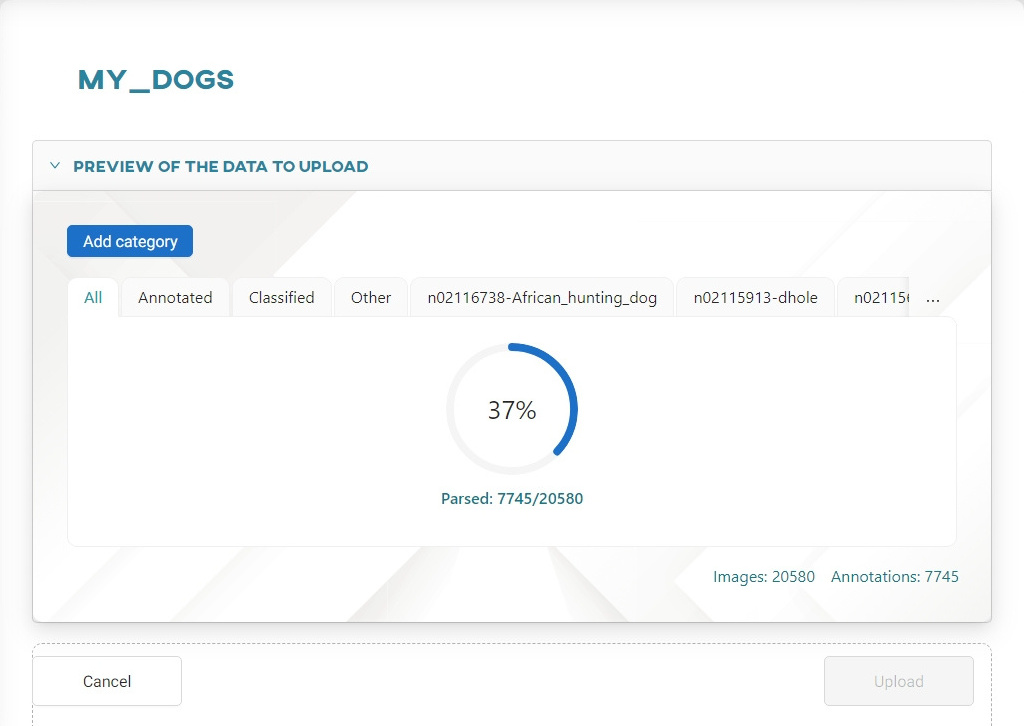
Wait for the site to validate the uploaded directory.
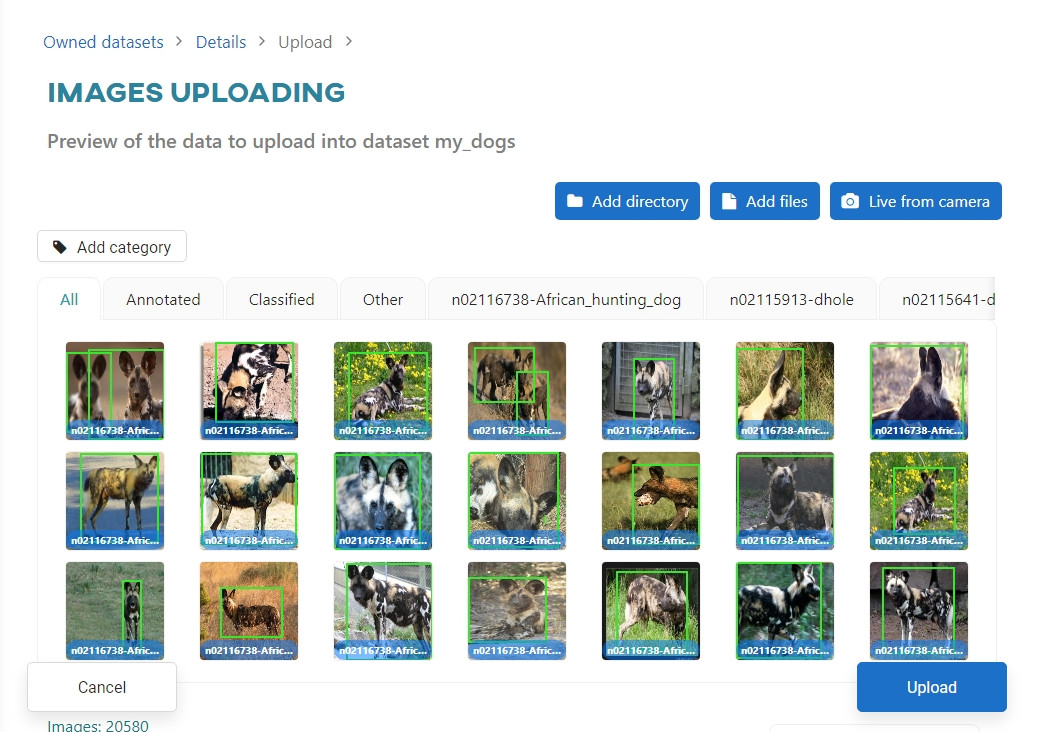
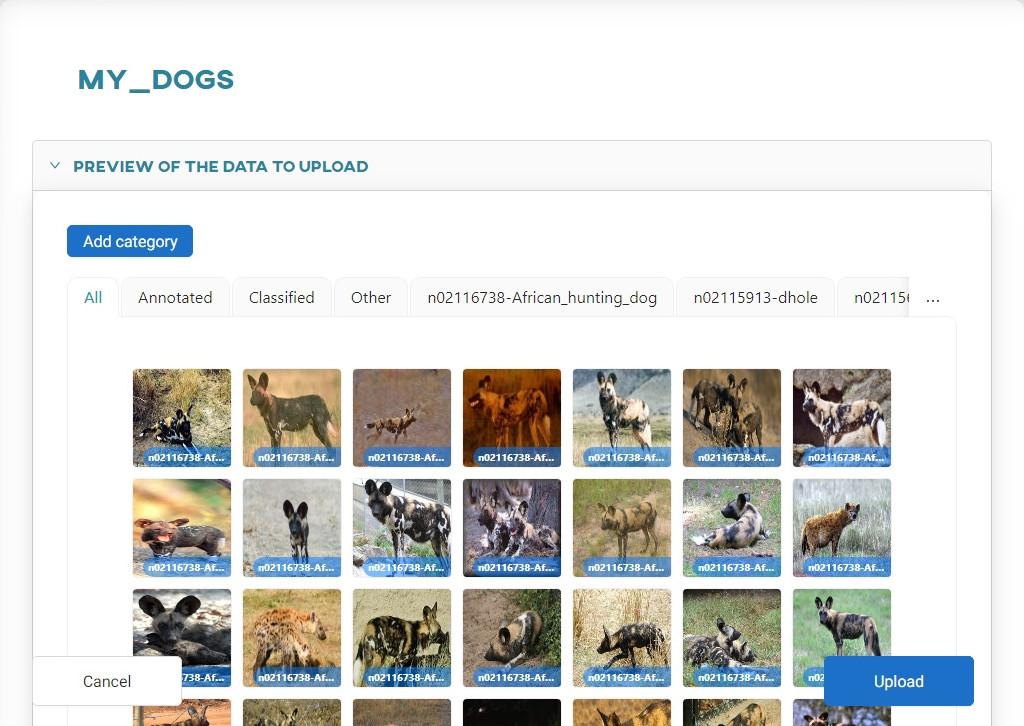
In the thumbnails, you will see the images with the added annotations. Once the directory is loaded, click Upload.
You can add object annotations for detection in Pascal VOC format (.xml extension files). The image and the annotation file must have the same name - only then you can link the annotation information in the image to the image itself.
Keep in mind: You can merge the two directories for the selected dog breed into one directory yourself, or add the images and annotation directories in two steps during the upload phase. The order in which you upload is not important.
To add directories separately, click Add directory and select the subdirectory Images.
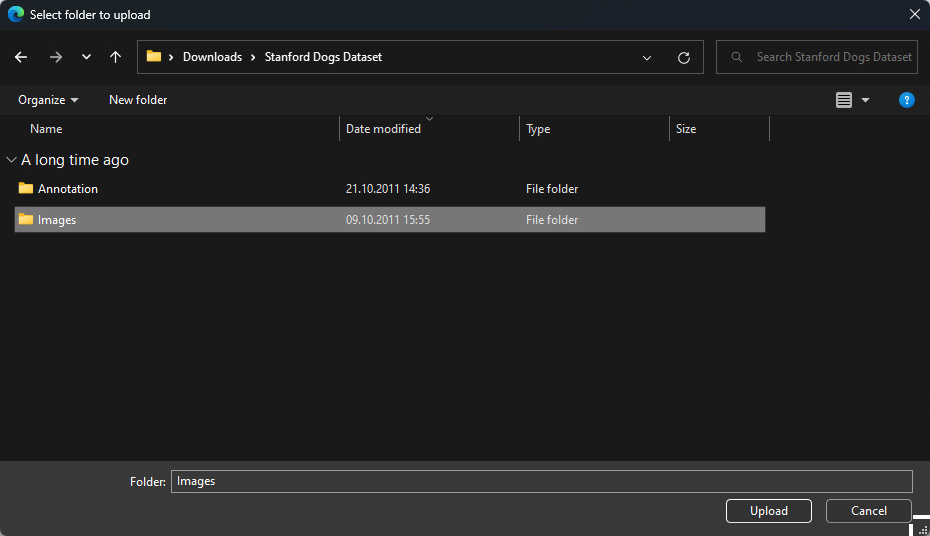
Click Upload to load the Images subdirectory.
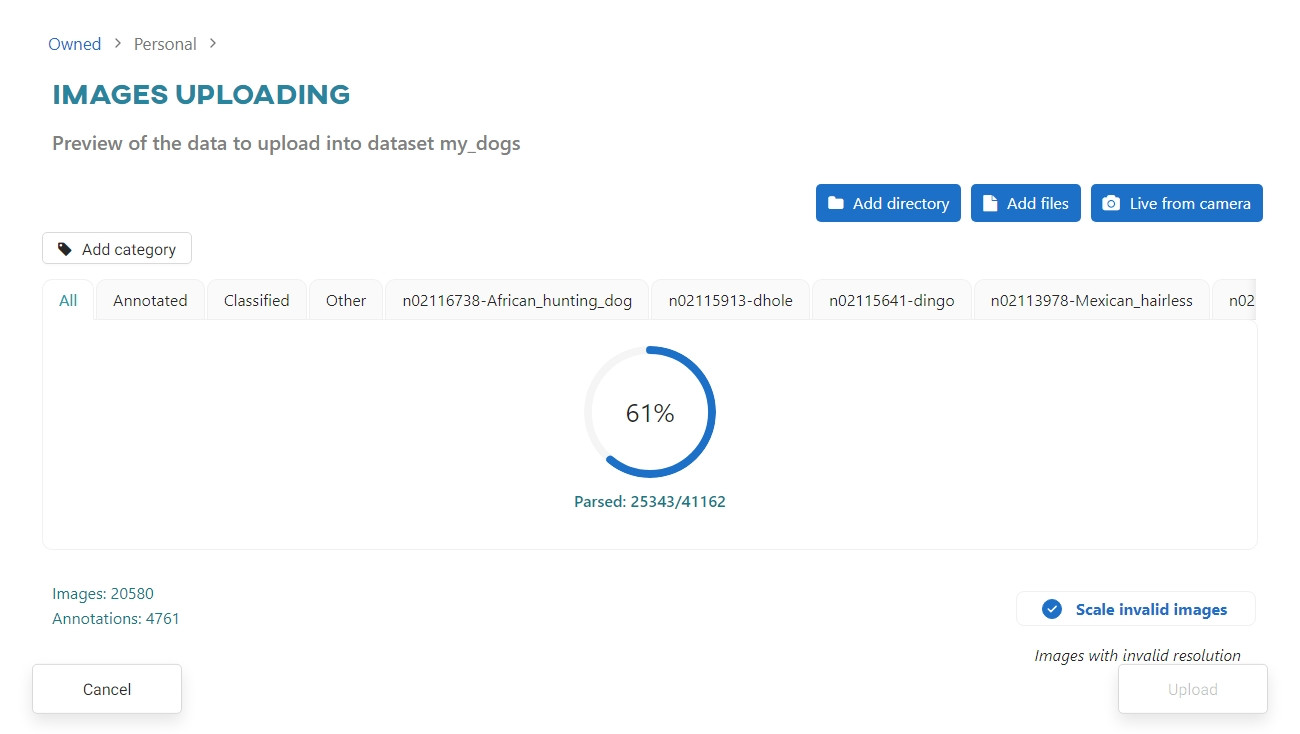
To add annotations, use Add directory again. Select the Annotations subdirectory.
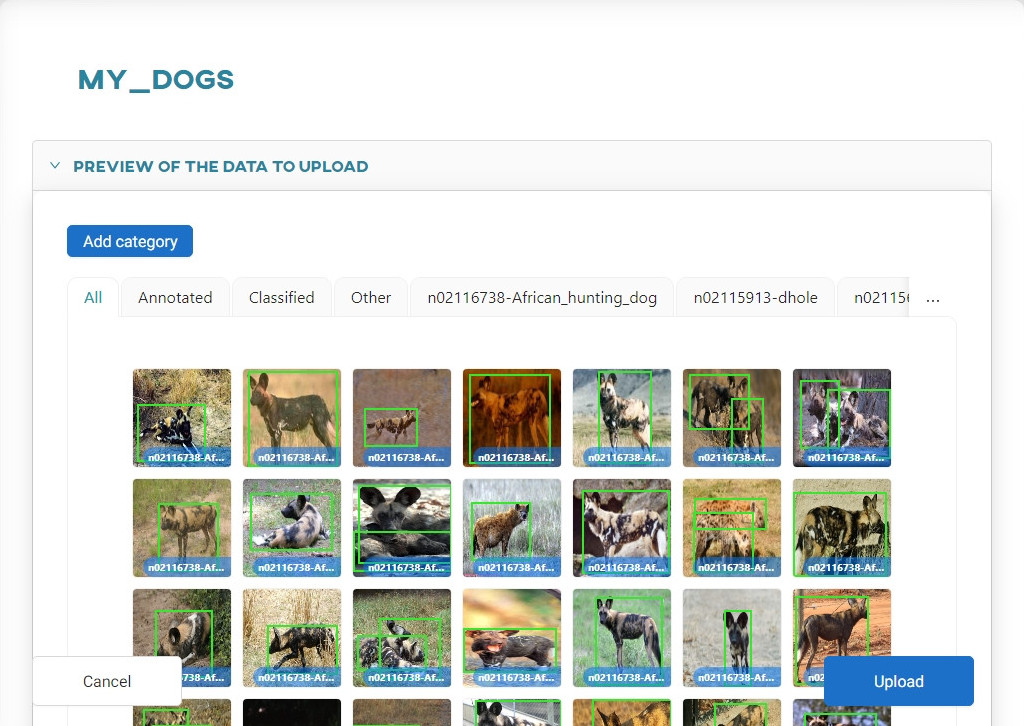
Wait for the site to validate the uploaded annotations and pair them with the already-owned images. You will see the images with the added annotations in the thumbnails.
Once the subdirectories are loaded, click Upload.
#Creating the model
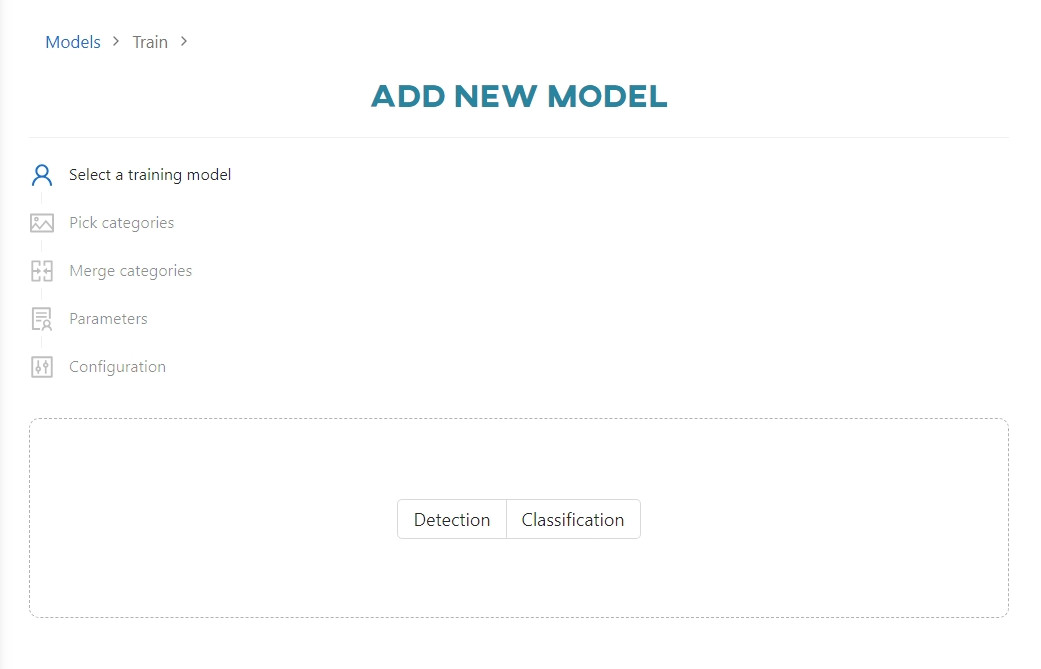
To create the model, go to the Models section and click Add new model. Select Detection.
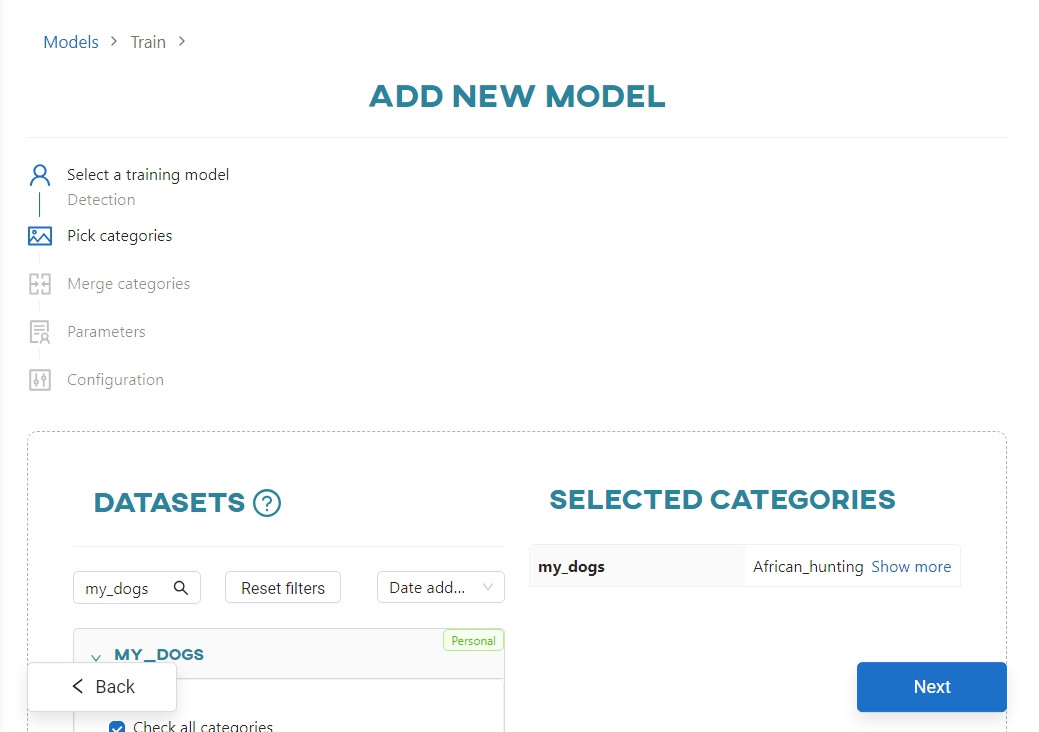
Select the my_dogs dataset to use to train the model.
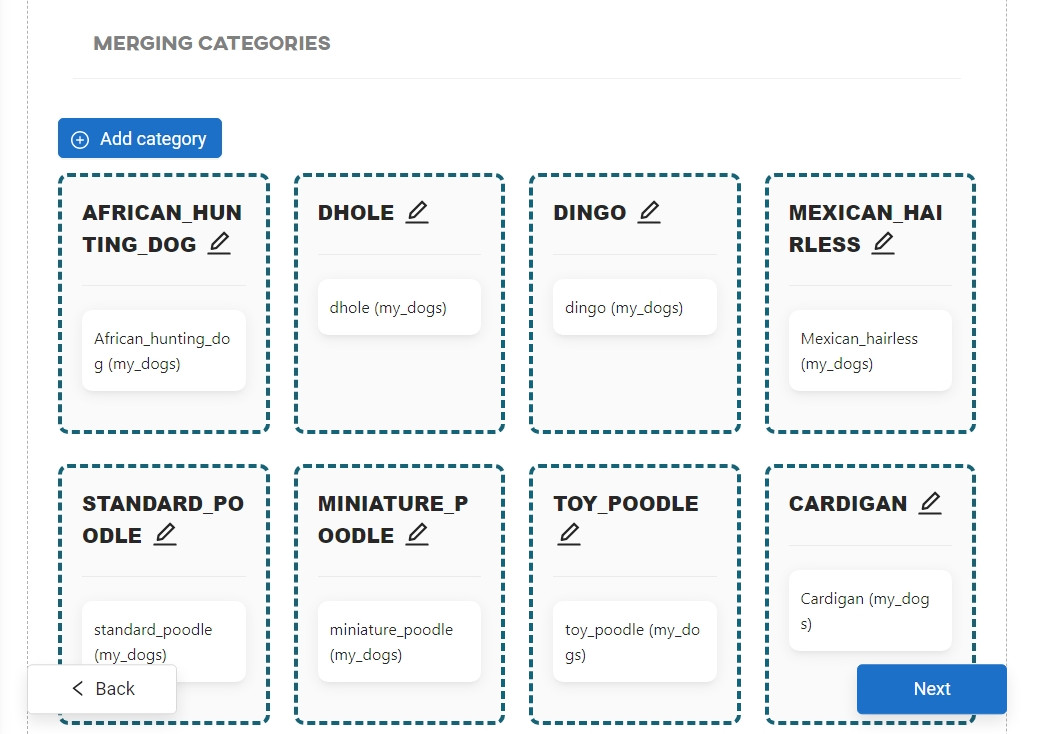
The next step is to merge the categories. You can manage the categories of images within the dataset. This option is described in much more detail in the Creating and training models article. In this tutorial it is not necessary to change anything, so continue by clicking Next.
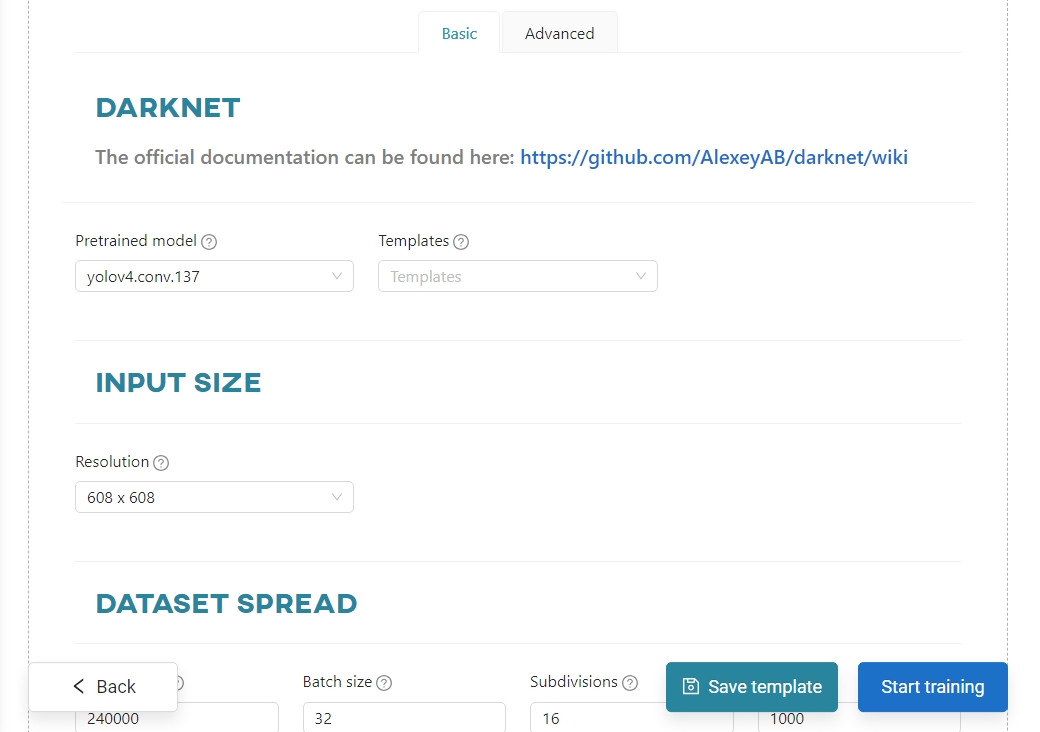
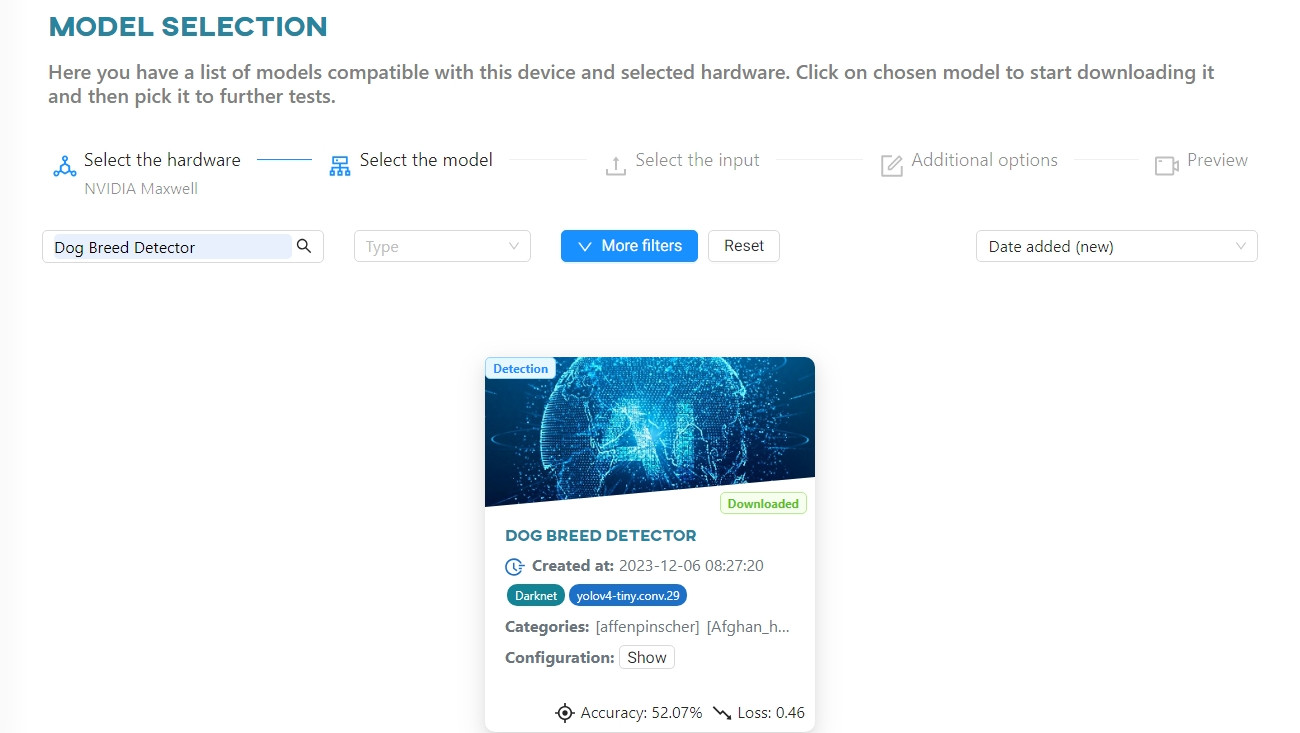
Now you need to parameterize the model. Enter the name Dog Breed Detector and select the Darknet framework.
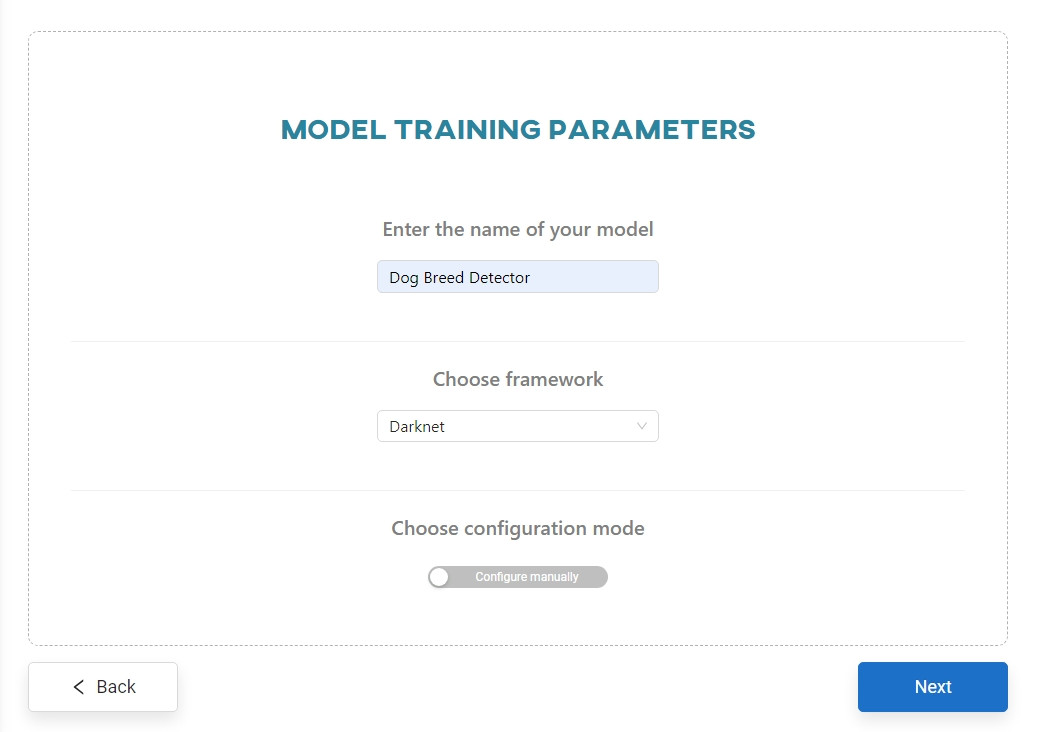
Accept the default settings or change them to your liking in Basic and/or Advanced mode tab. Click Start training.
You can view the training process in the Dashboard view, in the Notifications tab, or in the Models section.

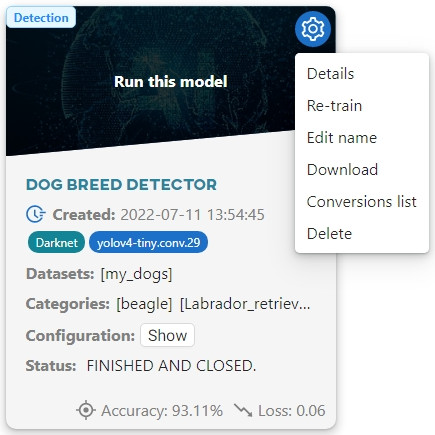
When the training is complete, convert the model so that it is compatible with NVIDIA Jetson Nano. To do this, go to the Models section, hover over the gear icon, and select Details.
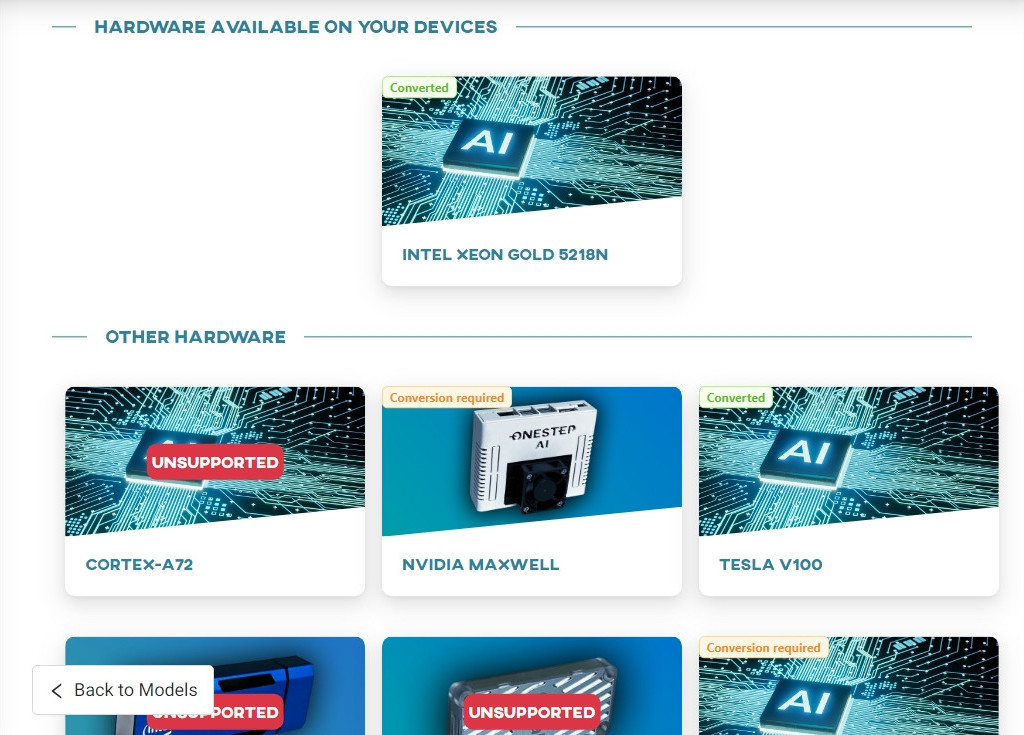
In the Conversion section select the NVIDIA MAXWELL architecture.
#Testing your idea
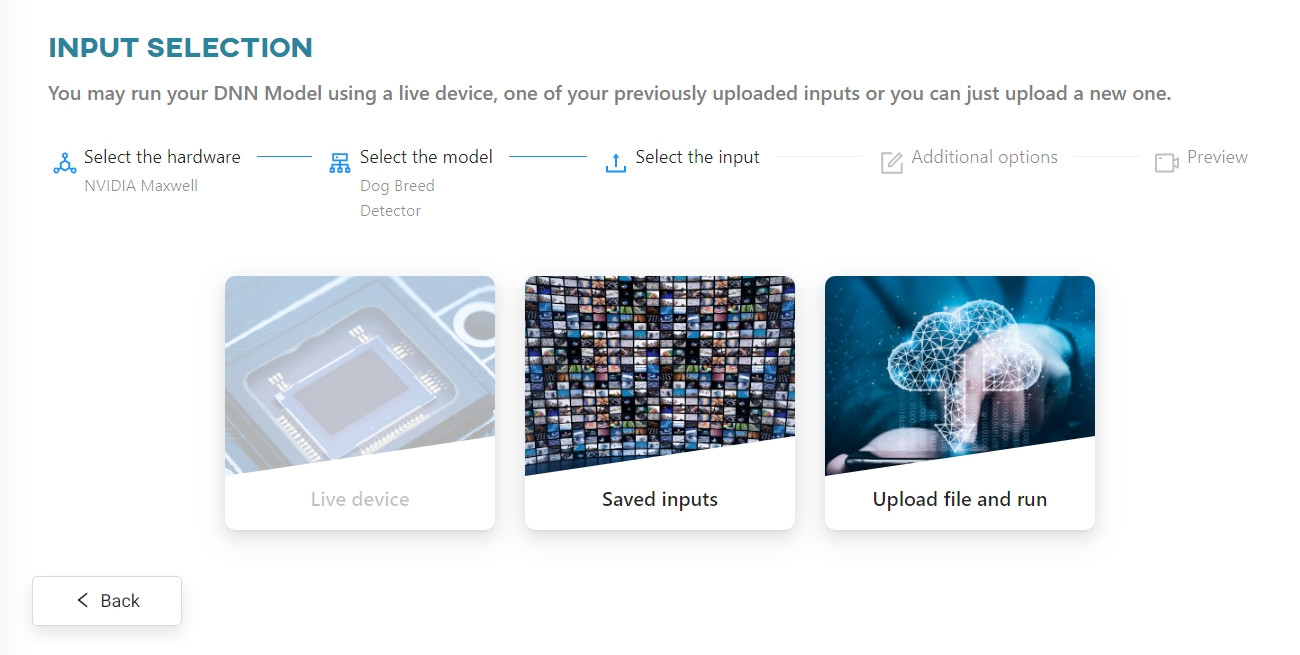
Once the conversion is complete, go to the Live Testing tab and select Jetson Nano.
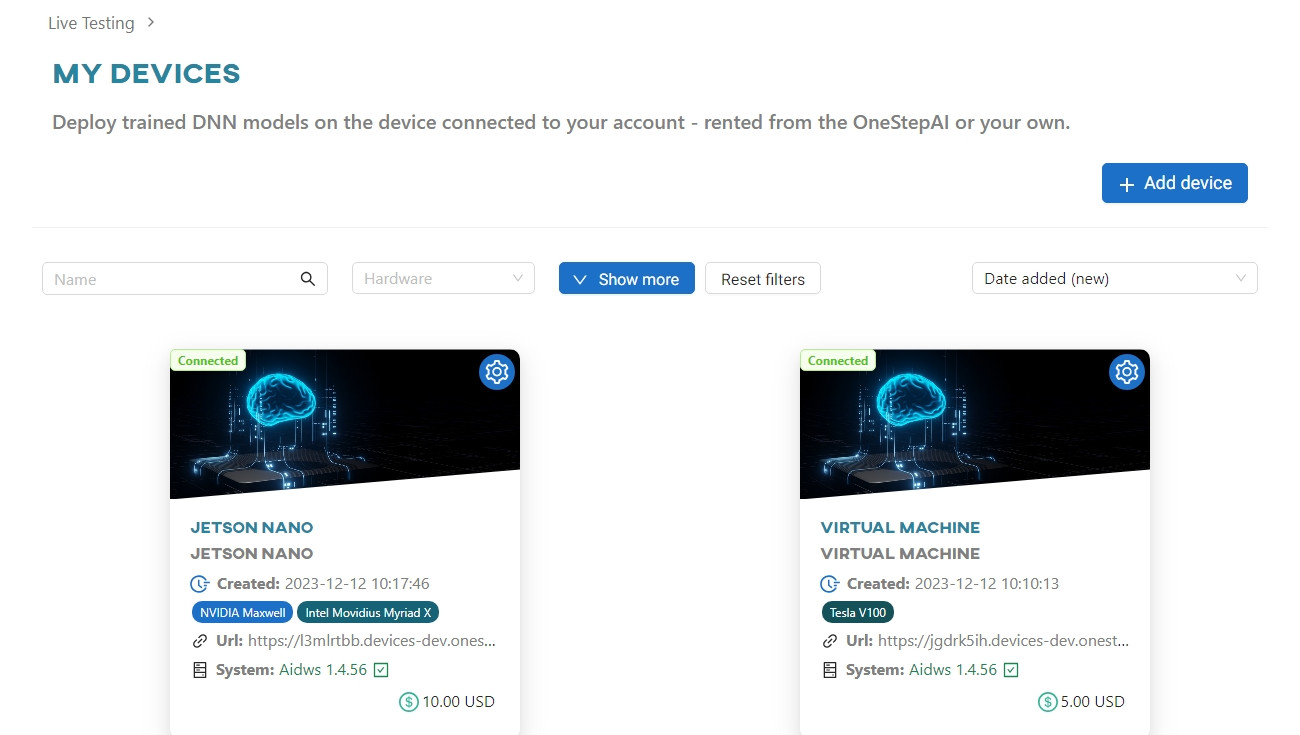
This will open a new browser tab with a test web app (Artificial Intelligence Device Web Service) that will run on your device. Your model will be available for download to the device.
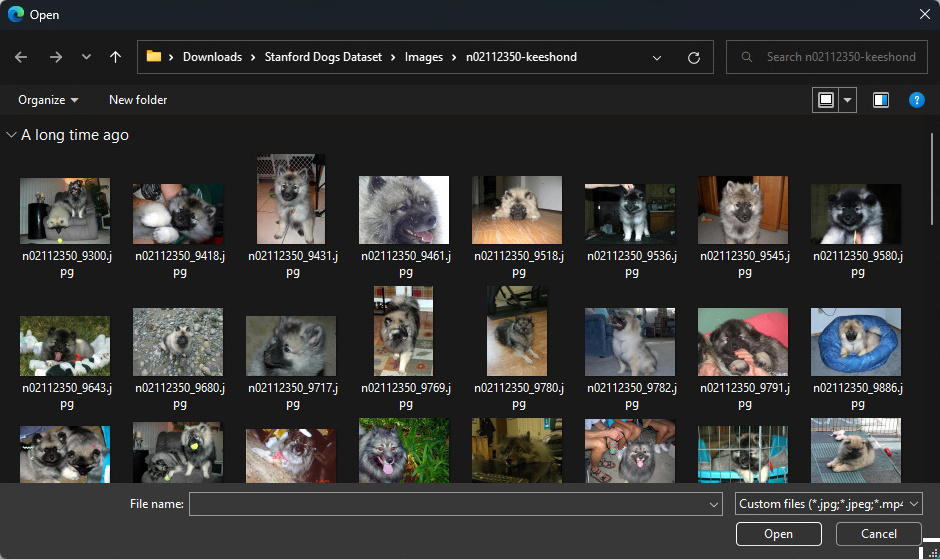
Click on the model tile to download and run the model. Now you can upload the input data that we will use to test your model. To do this, click the Upload file button.
Select the files you want to upload.
If you input the data as a video, the web app will open a built-in video player. There you will see notifications about the progress of the second stage of model conversion - this only happens on the first run.
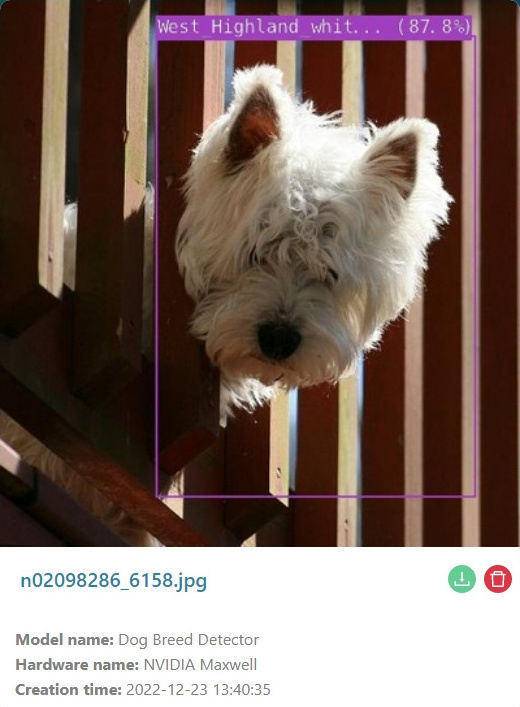
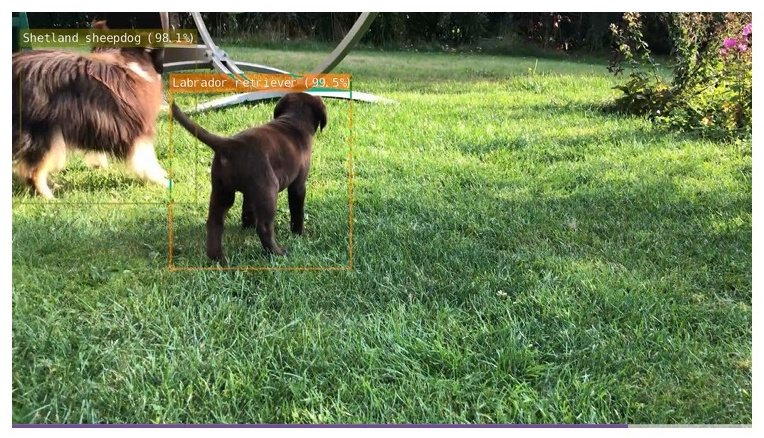
In the video you will watch in the player, you will see the breed tags assigned to the dogs that the model managed to find.
#Results
This is what a frame of the model's work looks like in the test application's media player:
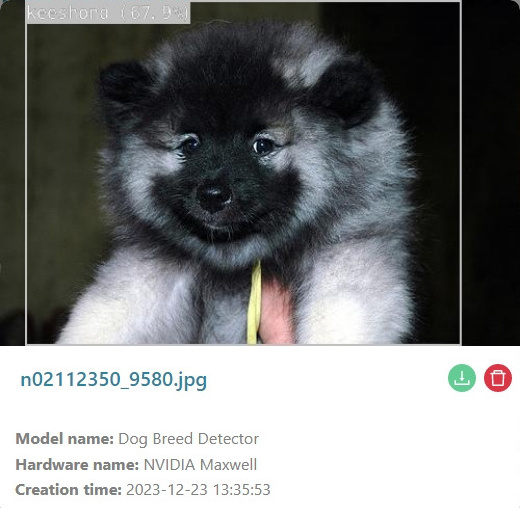
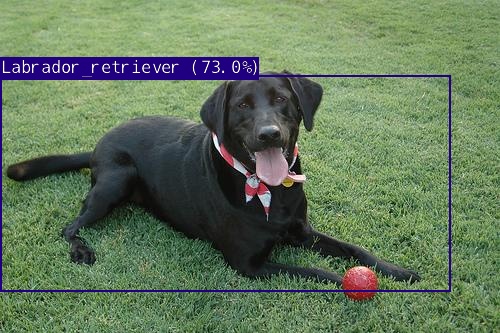
The results in uploaded photos are similar: